
You are probably thinking, "A do it yourself wedding invitation ornament? That's random!" And yes, it is, but it isn't! With Memorial Day around the corner, that means summer is upon us and if summer is upon us, that means peak wedding season is here, too! So before you throw away all those save the dates, shower invites, wedding invites, (and heck, even baby announcements), I thought I would let you know my favorite way to repurpose them with a touch of sentiment! I've made a few of these over the past few years, so it was time for me to formally document it on the blog. I will say that this was definitely not my idea. I stole this from a friend, Hannah, who posted about it on her blog awhile ago here. My process is similar, but I wanted to share it nonetheless! Let's get started!
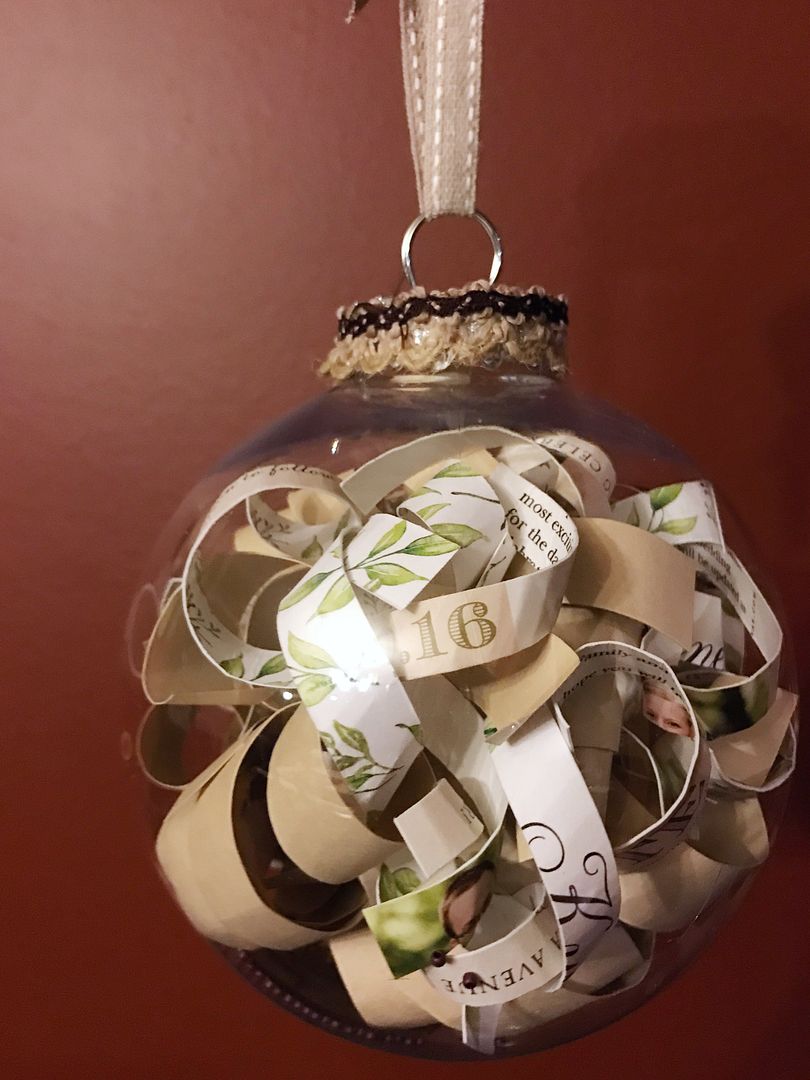
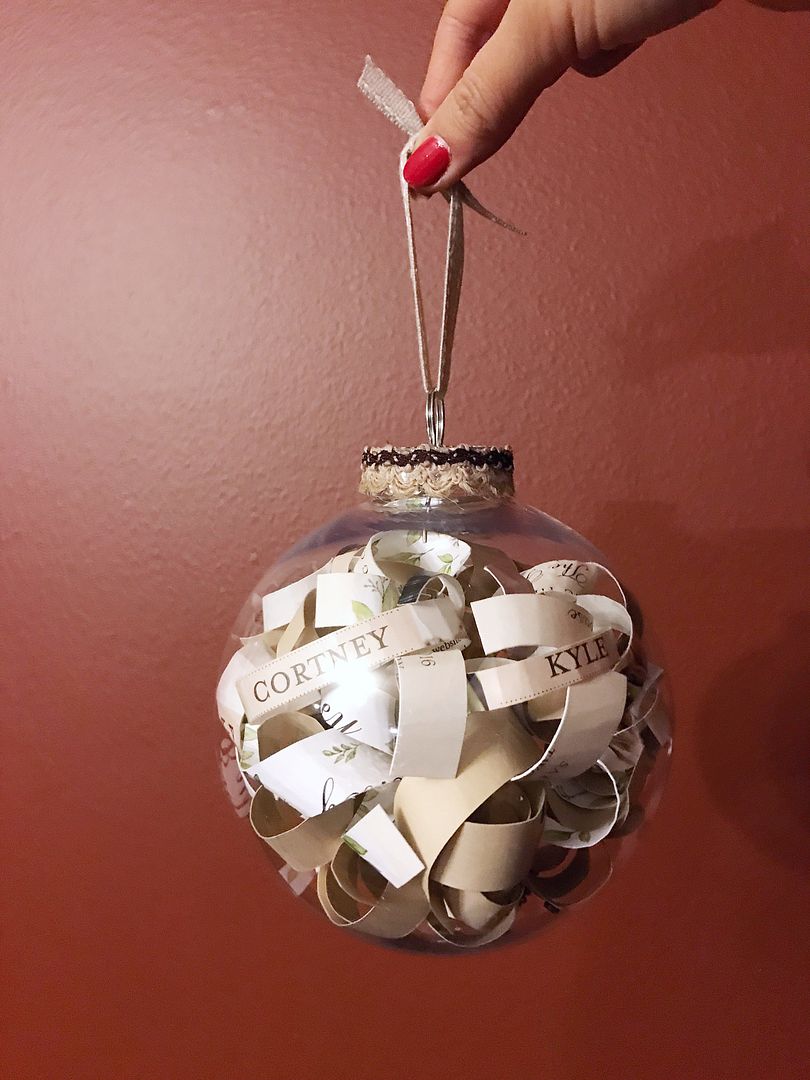
First, the finished product, so you understand the end goal. I ended up using their save the date as well as their wedding invitation.
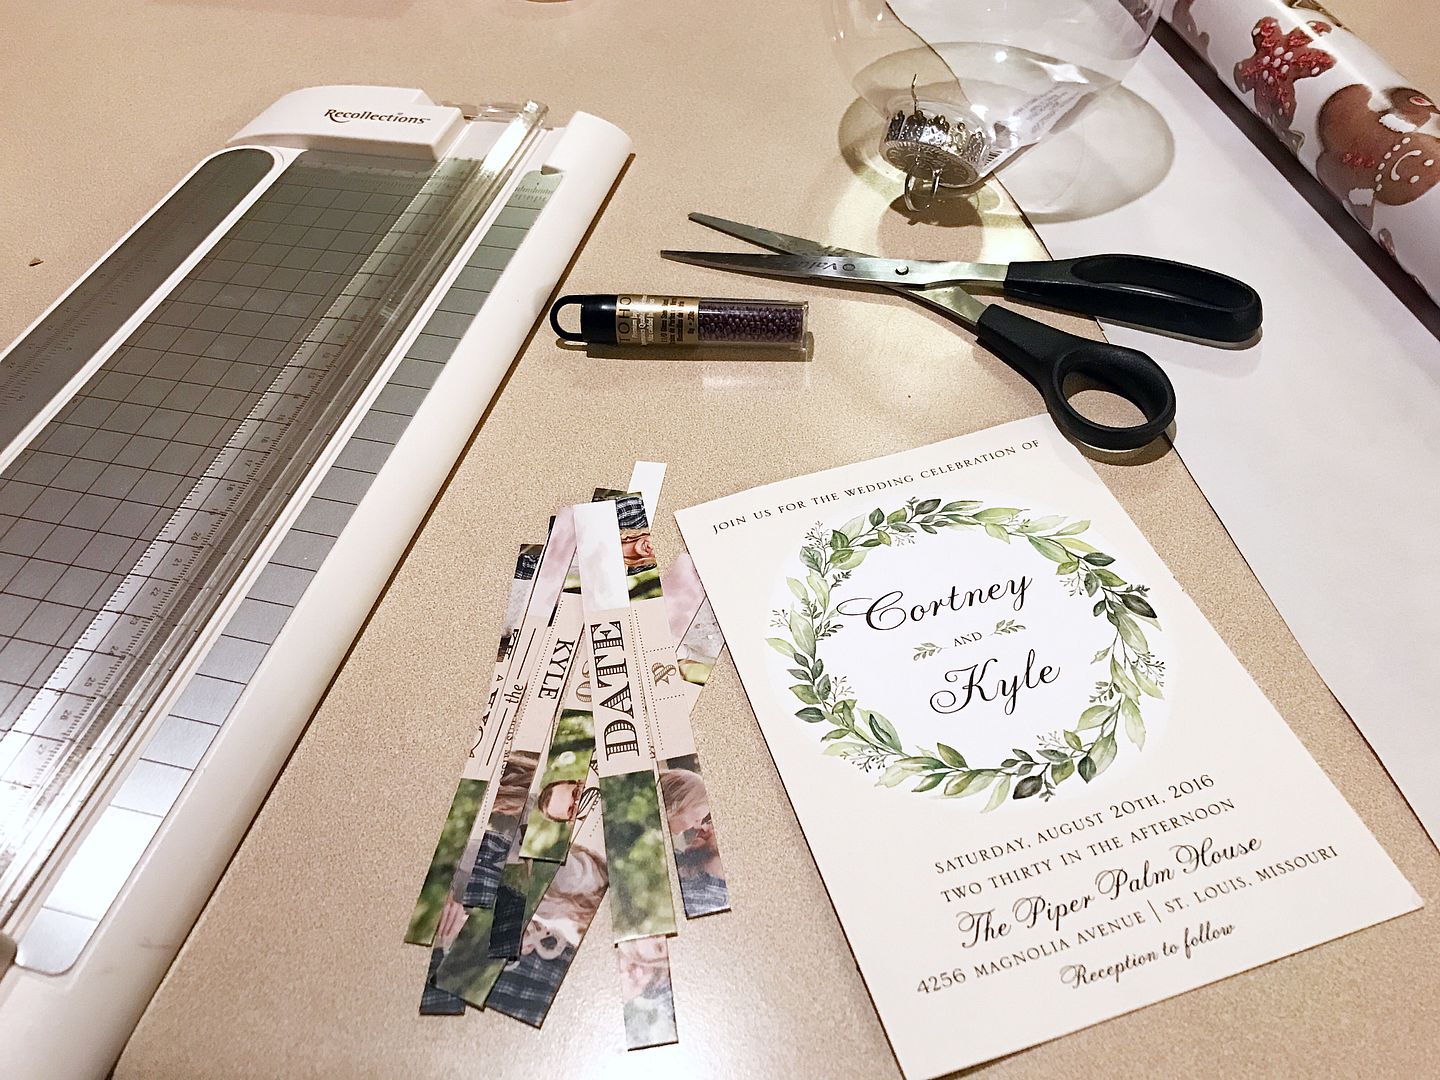
Things you will need:
1. Plastic ornament - Mine is quite large, but you can buy any size or shape you prefer.
2. Paper trimmer (similar) - this is more of a convenience than a must have.
3. Scissors and a pencil
4. Cardstock in the color of your choosing - I just went with a neutral
5. Ribbon and trim - I chose a burlap to keep in theme with their style of wedding
6. Glue - crazy glue or hot glue would work
7. Beads - I bought some little beads that I haphazardly glued to some cardstock and also just let loose inside the ornament for some extra movement.
8. And of course the invitation. Duh.
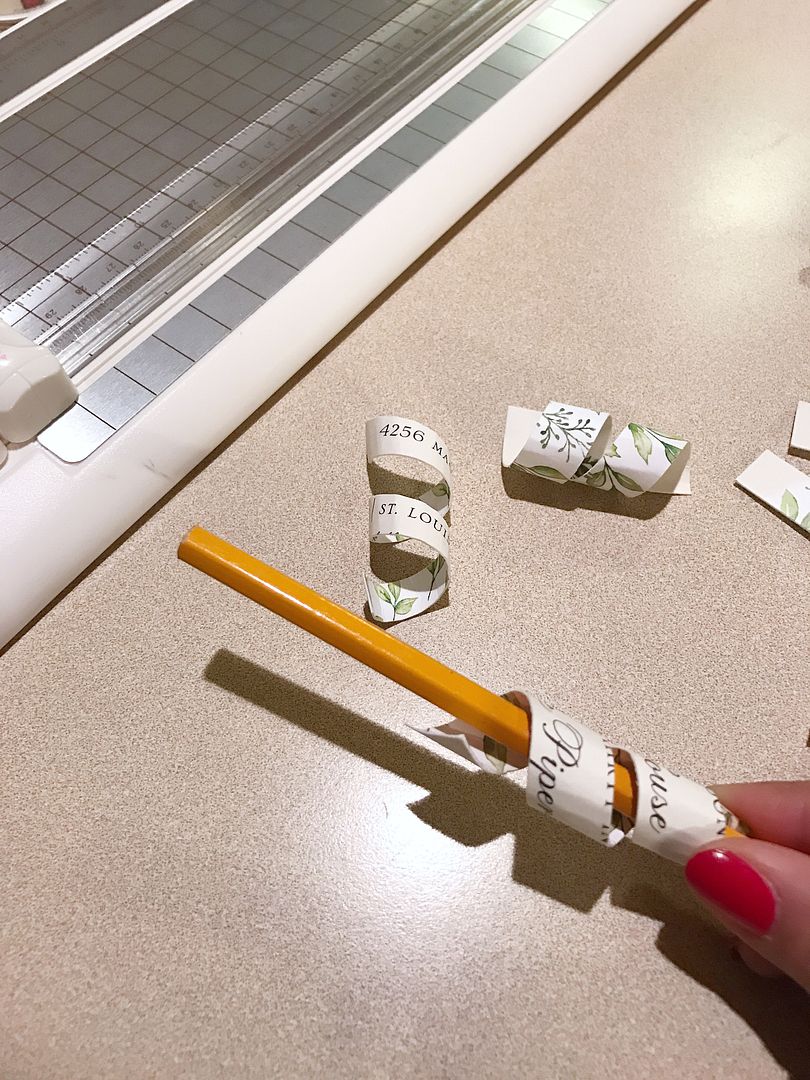
Once you've trimmed, roll each section around the pencil.
Steps:
1. Trim your paper. Using your paper trimmer, trim the invitation into strips. You can really make these as wide as you want them. Mine are about 1/2" wide, and I dictated the width on the font size. I wanted to make sure both of their names along with the date were clearly legible, so I sliced the lines with their names and date first. The invite and save the date weren't enough to fill the entire ornament, so I cut up some neutral colored cardstock as filler.
2. Roll your paper. The pencil is just to use as a tool to curl the invite and cardstock around.
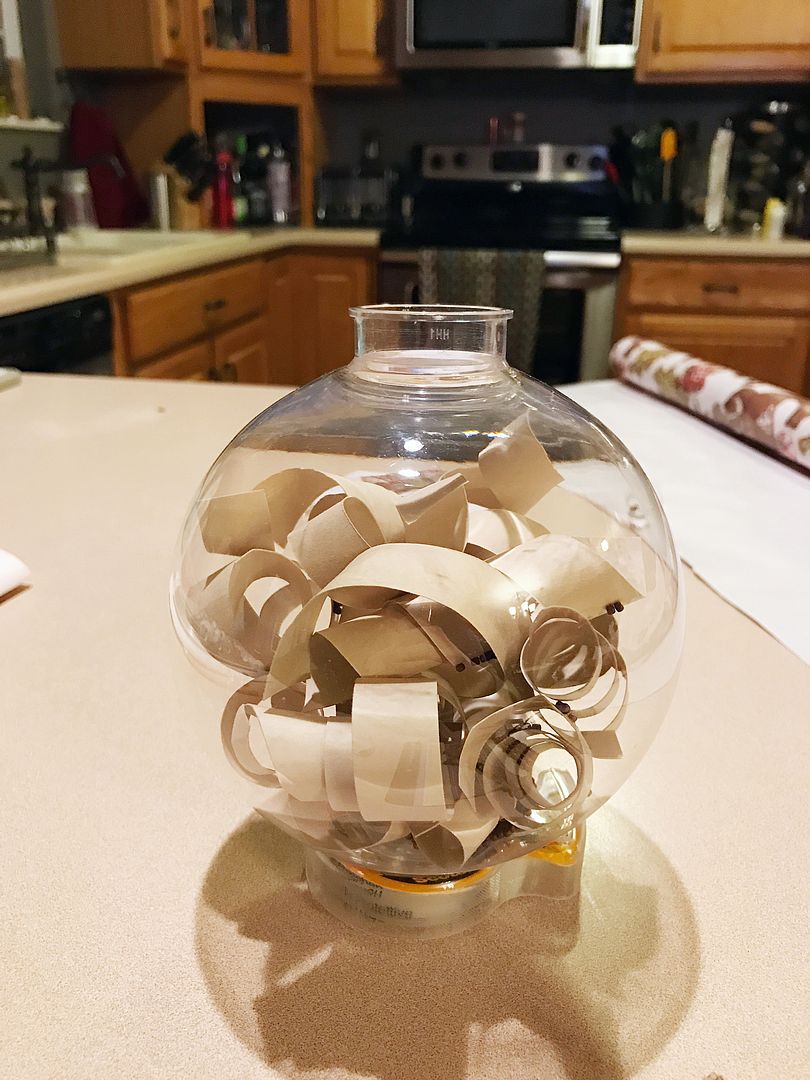
3. Fill the ornament. Honestly, this was trial and error. I had to do this step quite a few times to get it exactly how I wanted it, but in the end, I found it best to place all of the neutral cardstock into the ornament first and let that act as fluff. Then I carefully shimmied each piece of the invitation on the "outside" of this plain cardstock so that they were closest to the plastic and most visible. It took some patience to get their names perfectly placed, but having the ornament nice and filled helped them stay put. Once it was all filled, I sprinkled some beads in.
4. Add your trim and ribbon. It takes just a few dabs of glue to secure this burlap trim around the metal cap of the ornament. The ribbon is simply knotted. Easy breezy.
And that's basically it! I usually find that 3" ornaments work just fine, but I wasn't able to find any that size this time around, so this one ended up being 4". I've done these for baby announcements and baby showers as well! It's a quick project, but all the recipients have appreciated the gesture!


That's so sweet I usually end up throwing mine away, I'll keep that in mind for sure.
ReplyDeletexo
Pinksole
Super cute idea! It looks doable for even the uncraftiest of all people, like myself! Ha!
ReplyDeleteGina || On the Daily Express
That is a super cute gift idea! I might make this for an upcoming wedding!
ReplyDeletethis is so creative and easy! thanks so much for sharing!
ReplyDeletekileen
cute & little
What a fun DIY and great idea! Thanks for sharing!
ReplyDelete