
You guys are getting two posts today. I received a request on how I curled my hair in one of my photos. During the work week, I have a very quick and easy way I curl my hair. I am really just going for body and waves moreso than I am going for all over, tight curls. I figured I'd go ahead a post a quick tutorial - and when I say quick, I mean the photos I took are pretty raw and with my iPhone. Nothing fancy, but should be enough to get my point across.
First, I start with clean, dry, first-day hair. My hair is way too greasy and kinked after sleeping on it for me to attempt to curl my hair on the second day. I'm not lying when I say this is quick and simple. I start with completely no product in my hair.
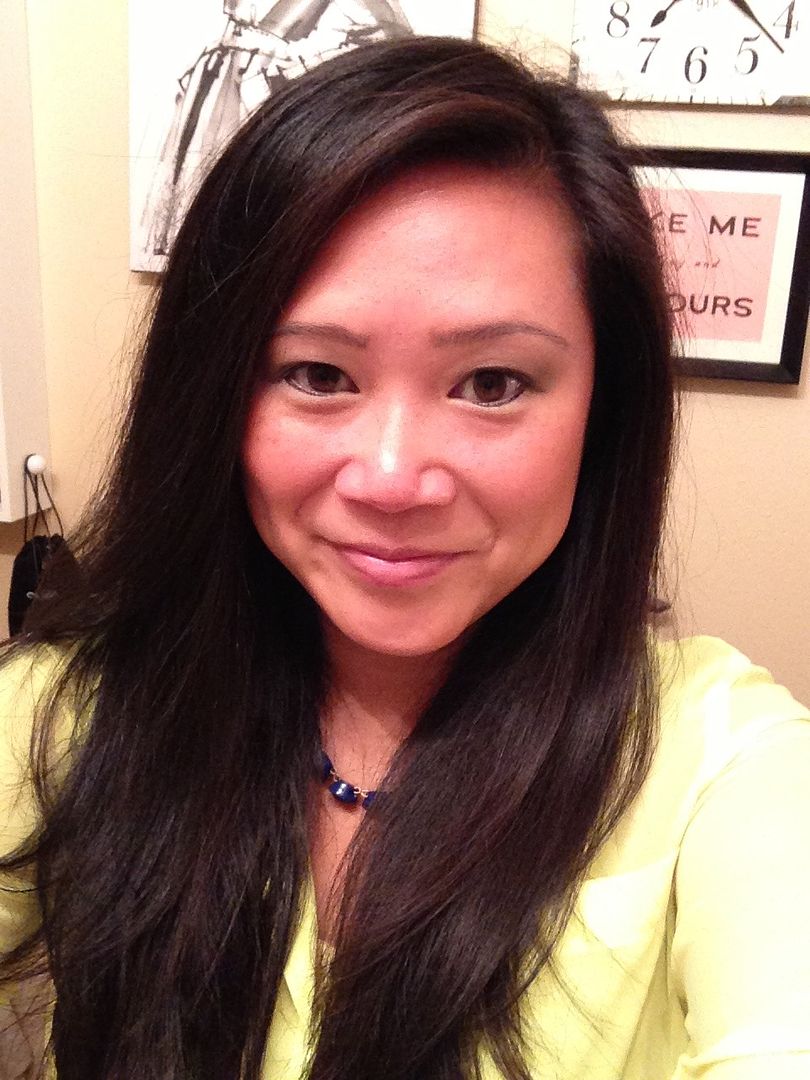
My hair for the most part is straight. I wouldn't say it is pin straight because it does have the slightest random bend to it. I will always either flat iron, curl my hair, or wear it up. I don't ever usually blow dry and go. This is the curling iron I use. Again, nothing fancy. It's a Conair 1" Tourmaline Ceramic curling iron with 30 heat settings. I curl my hair on 15, and usually let it warm up as I'm putting my makeup on.
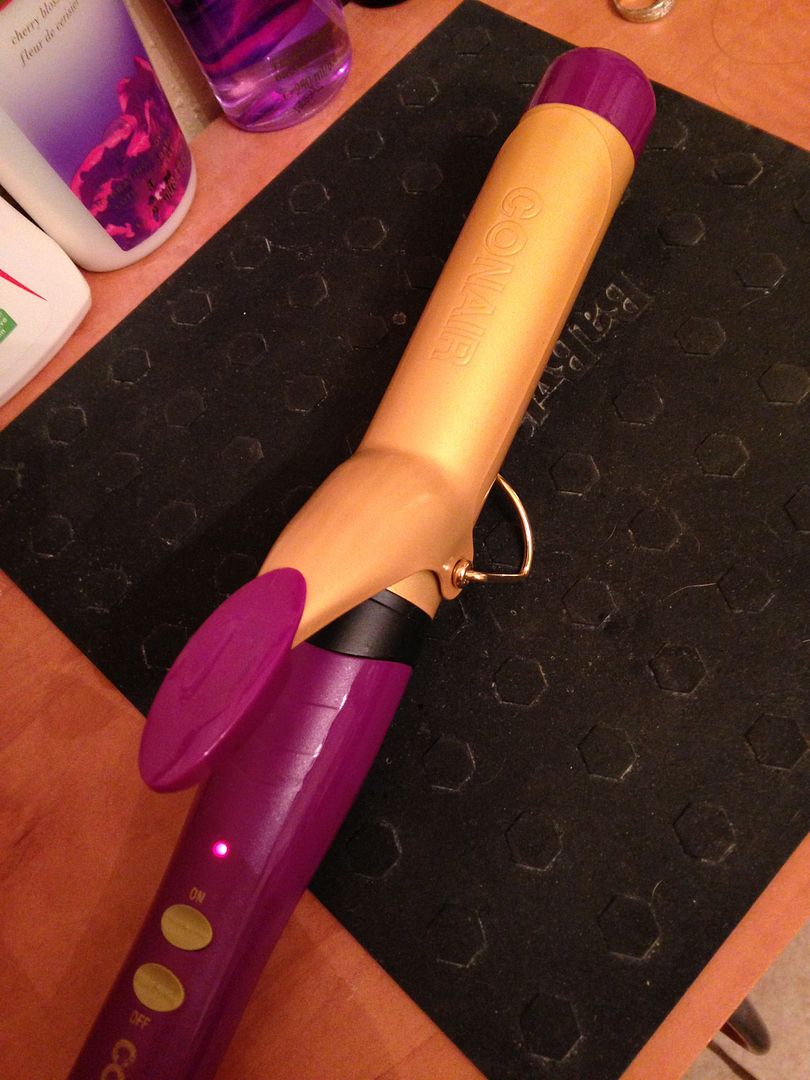
Similar/current model here
I will repeat again - this is super quick. If I were getting ready for a formal event or something else when I could take my time, I would curl my hair separating the hair into 3 sections (top, middle, bottom) in addition to front and back. However, for this exercise, I simply separate and curl into sections front to back. What this really means is that I'm only having to curl 8-10 sections of hair vs. 18-20. So, in other words, I'm wrapping more hair around the curling iron at once, which results in bigger, looser curls. More importantly, this saves me precious morning time, as I am always incessantly late.
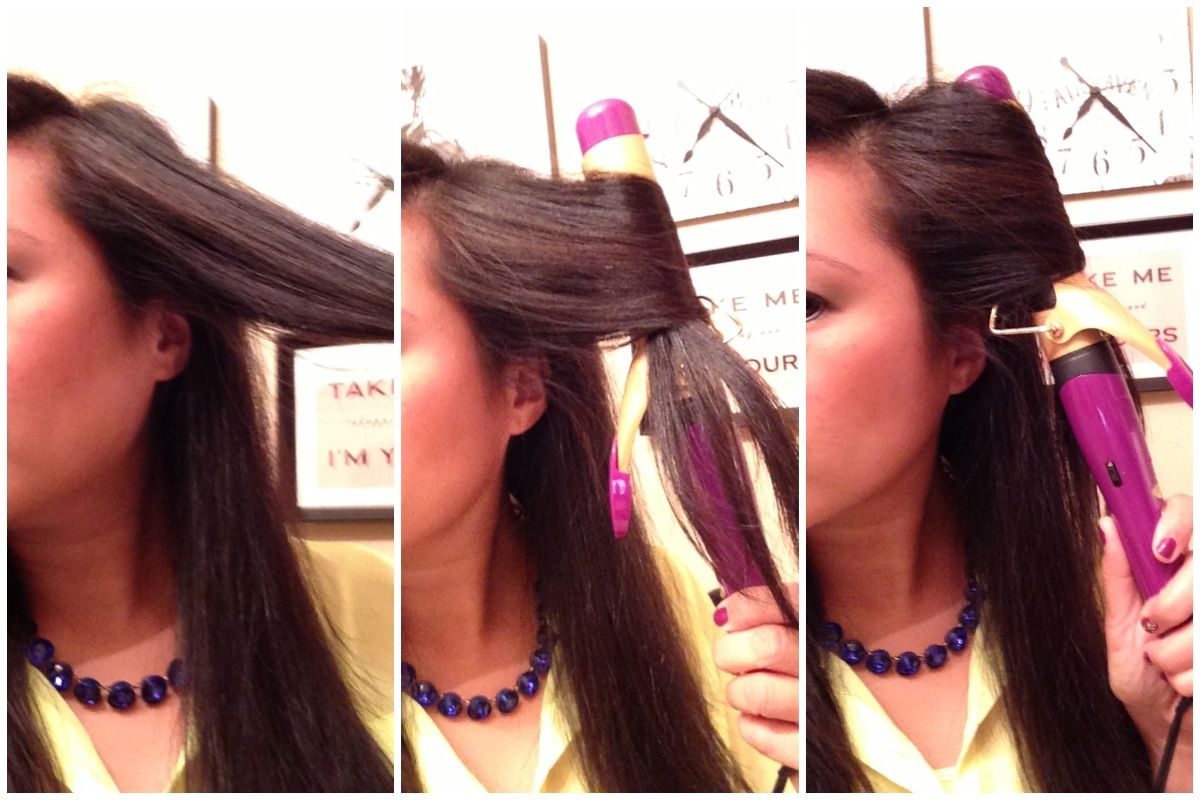
I split my hair so that I have half my hair over my right shoulder and the other half over my left shoulder. I then start with the hair closest to my face and work towards the back. In the photos above, you'll see I grab a section of hair about 1-2" wide. However, when I place the hair in the curling iron, I place it in the middle of the section so that initially I am only curling the hair from the middle up to my scalp. I position the curling iron so that it curls away from my face - this is typical for all of the curls, I don't mix this up. I twist the curling iron to my scalp, until it cannot twist anymore, and hold for about 5-6 seconds.
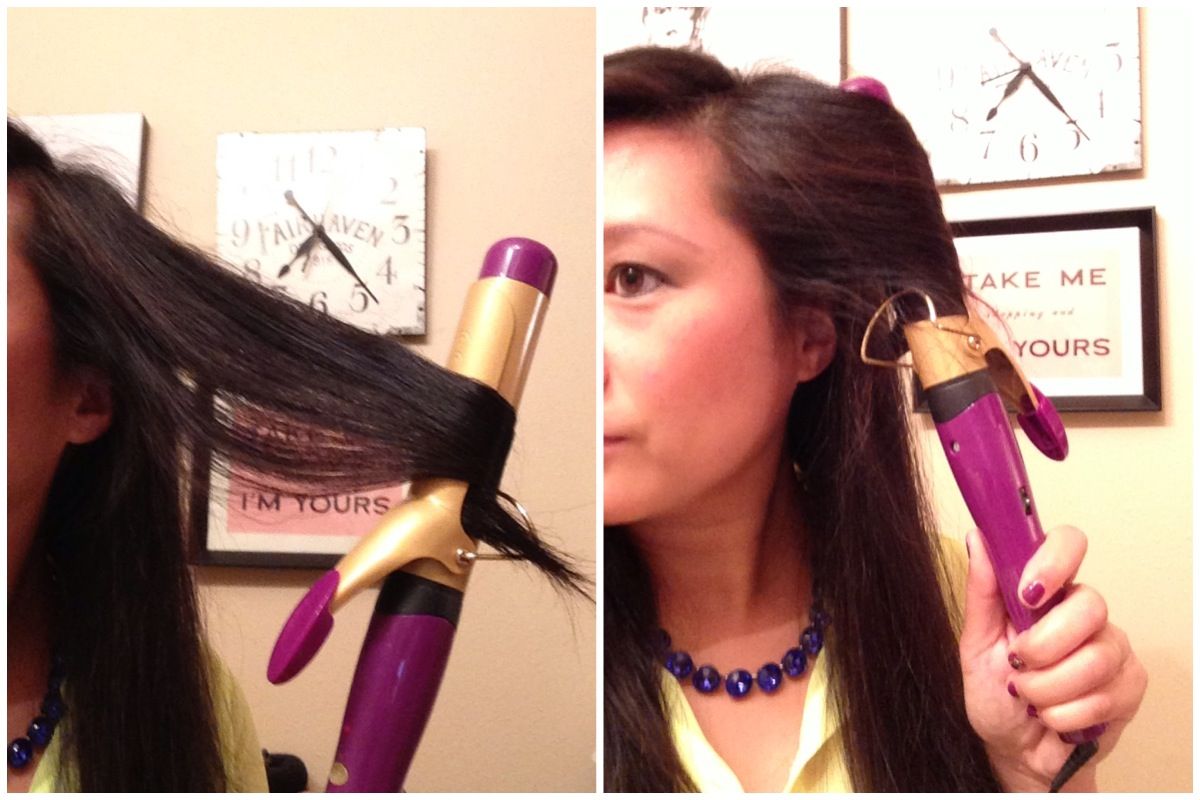
After that 5-6 seconds is up, I twist the iron away from my face, and open the clamp just enough so that without letting the hair go, I can shift the iron to the ends of that section. Then, I twist the iron all the way back up again to my scalp. I like doing this technique so that the hair closest to my scalp, in theory, feels the heat of the iron twice, and the ends of my hair aren't the only parts that look curly. I hold this for about 6-8 seconds, or until I touch that section of the hair and can feel that the heat has come all the way through it.
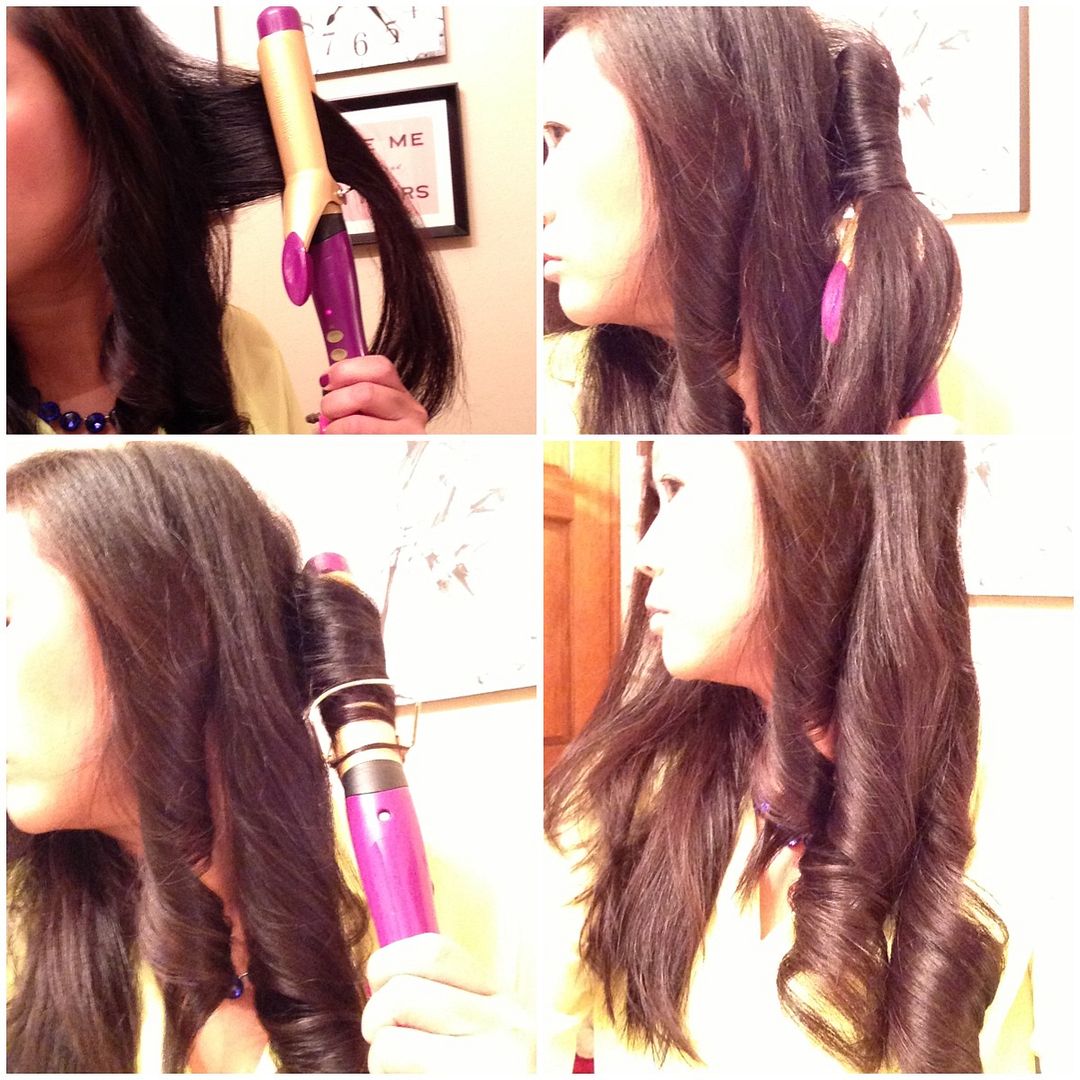
I continue on with these steps until I complete my full head of hair. You'll see above, I was able to curl the entire left side of my hair in just three sections. The right side of my hair is a bit thicker, just because of the way my part falls, so I end up finishing my right side in more like 5 sections. You'll see above that once each section is done, I just let the curl drop and cool. I don't brush it out or do anything to the curls until my entire head is curled.
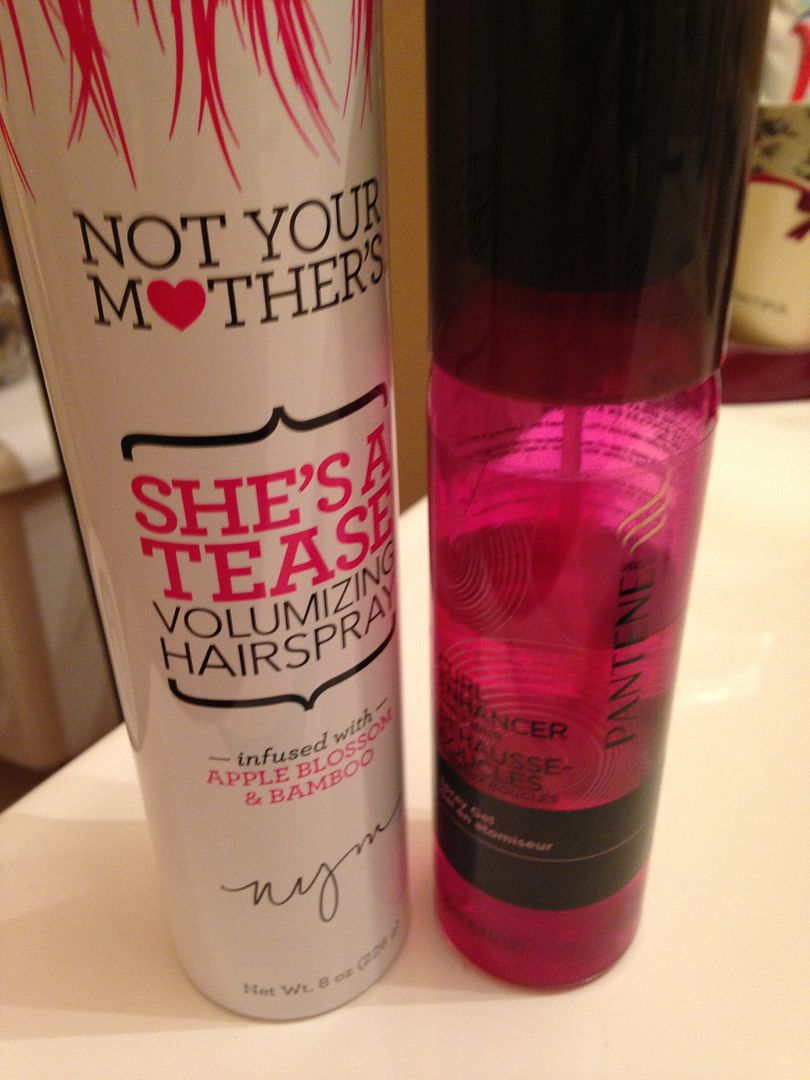
Not You Mother's "She's a Tease" Hairspray
Pantene Curl Enhancer spray gel
Once my hair is curled, before I comb my fingers through them, I spray all over with hair spray. I also focus on spraying any flyaways at my scalp. I really just want a little bit of texture to the curl, so they're not soft and don't instantly fall out. Then, I spritz all over with spray gel. I will do a combination of light scrunching and haphazard combing through with my fingers. I don't want to comb out all the curl by any means, but I do like to separate them just a bit so they don't look like perfect Goldilocks or Shirley Temple type curls. I also use the gel to tame flyaways, especially at the scalp. I finish off by spraying again all over with the hairspray.
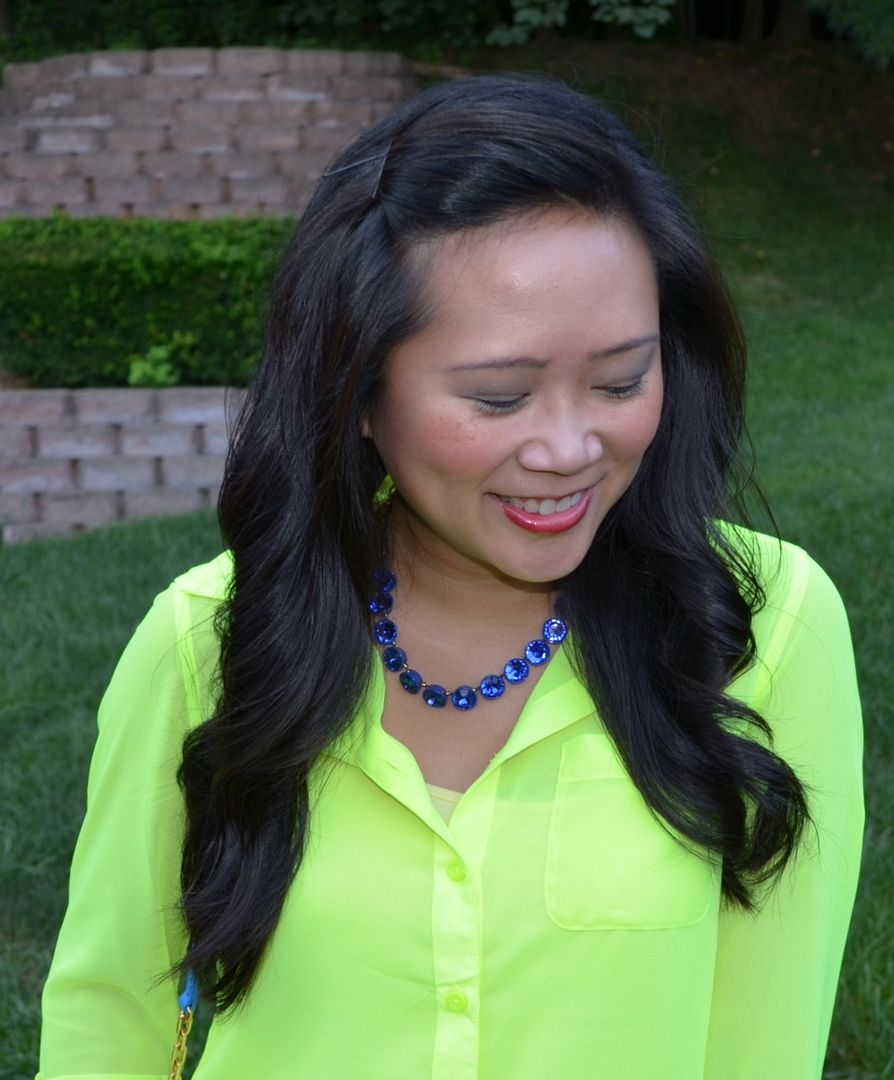
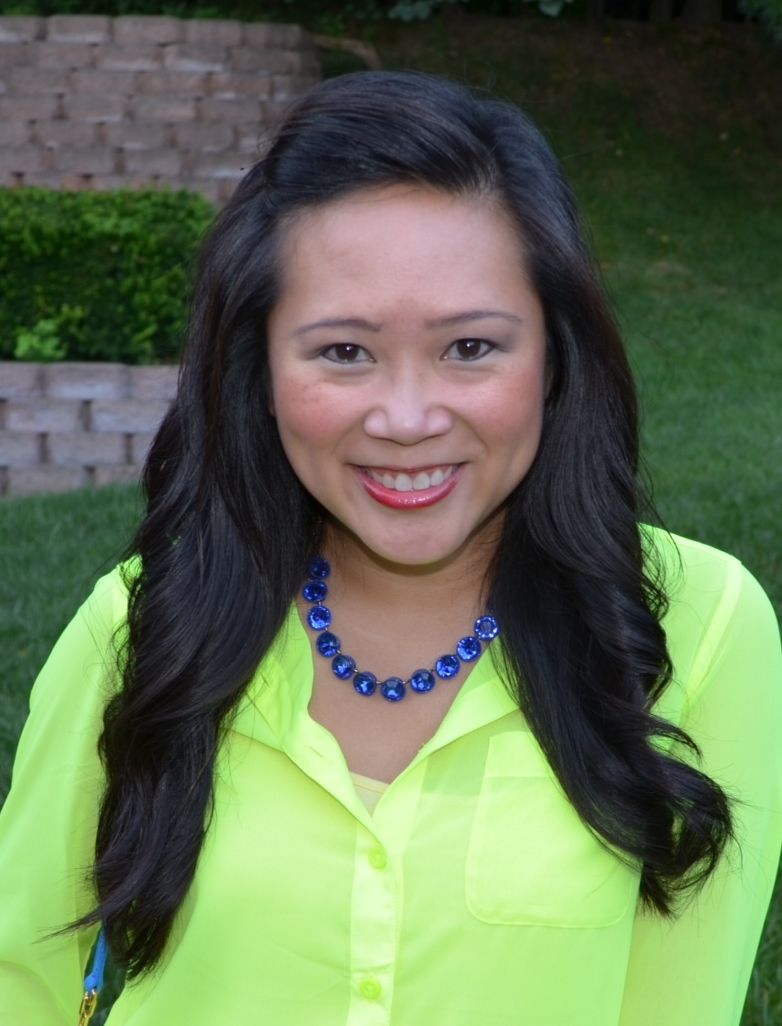
On this particular day, I decided to pin it to the side with a couple of bobby pins to keep my hair out of my face, but you can still see how all this tutorial results in loose, bouncy curls. This too can be yours in just 5-6 minutes. (Drying time not included.) :-)
I'm definitely not super original when it comes to my hairstyles, but if there is ever anything that you guys want to see a tutorial of, I am happy to accommodate! Hope this was helpful!


Cute! Please check out my newest post & giveaway at www.loveolia.com!
ReplyDeleteThank you! And happy birthday!
DeleteI love the way it turned out - very pretty!:)
ReplyDeleteI appreciate that - thank you!!
DeleteLove it- thanks for posting this!
ReplyDeleteMy pleasure - hope you're able to get yours the way you like it!
Delete