
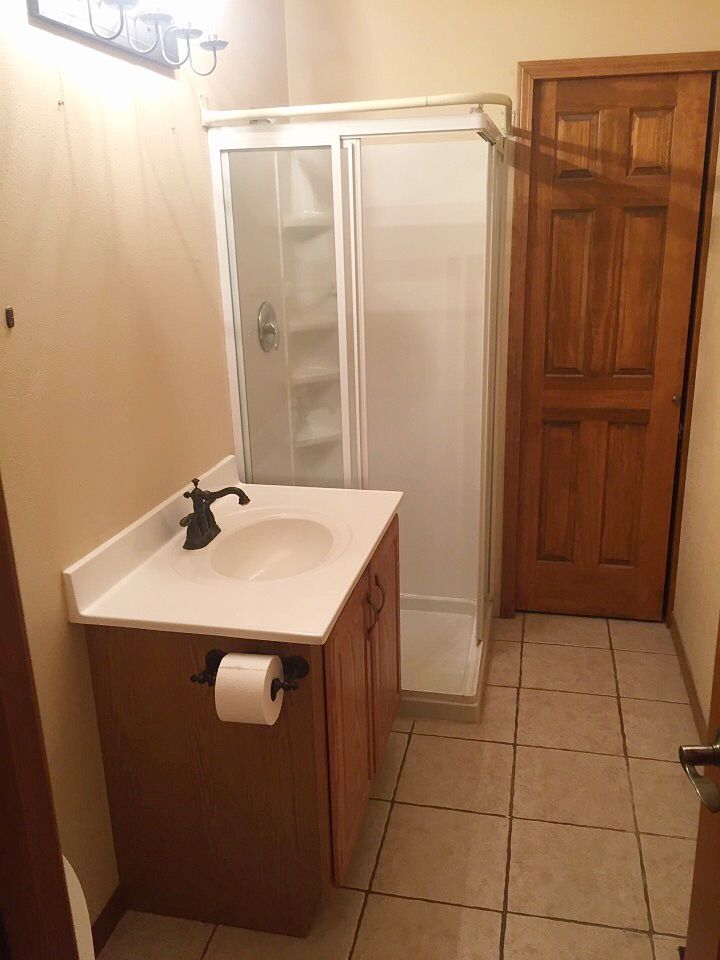
Existing photo of my bathroom
(that pocket door leads to a walk-in closet which connects to my closet room)
(Yes, my closet room has a closet)
We had so many projects going on the week between Christmas and the New Year. We ordered a new recliner for the living room. We had new carpet installed in the basement living room. We were supposed to have the carpet removed in the sunroom and replaced with tile, but when the carpet was pulled up, the installers found like-new tile underneath! (The same tile pictured in the bathroom photo above, actually.) So, we just needed the old carpet discarded and all the glue from the tack strips removed from the perimeter tile. (Luckily we were able to return all the new tile we had bought.) On top of all this, for Christmas, my father in law is volunteering his own labor to remodel my bathroom.
I say "my" bathroom because it's different than our master bath. We have four full baths in the house - three upstairs and one in the basement. I shower in the master bathroom, and physically get ready in the bathroom above. It's connected to my closet room, so it makes it quite convenient. Since we already have 3 other full baths in the house, I wanted to get rid of the stand up shower in there. It has never been used in the 4+ years that we have lived here, and I would love the additional space for storage and workspace. My father in law completed all of the demo while we were in California for Christmas, so I really needed to start picking out all the new stuff!
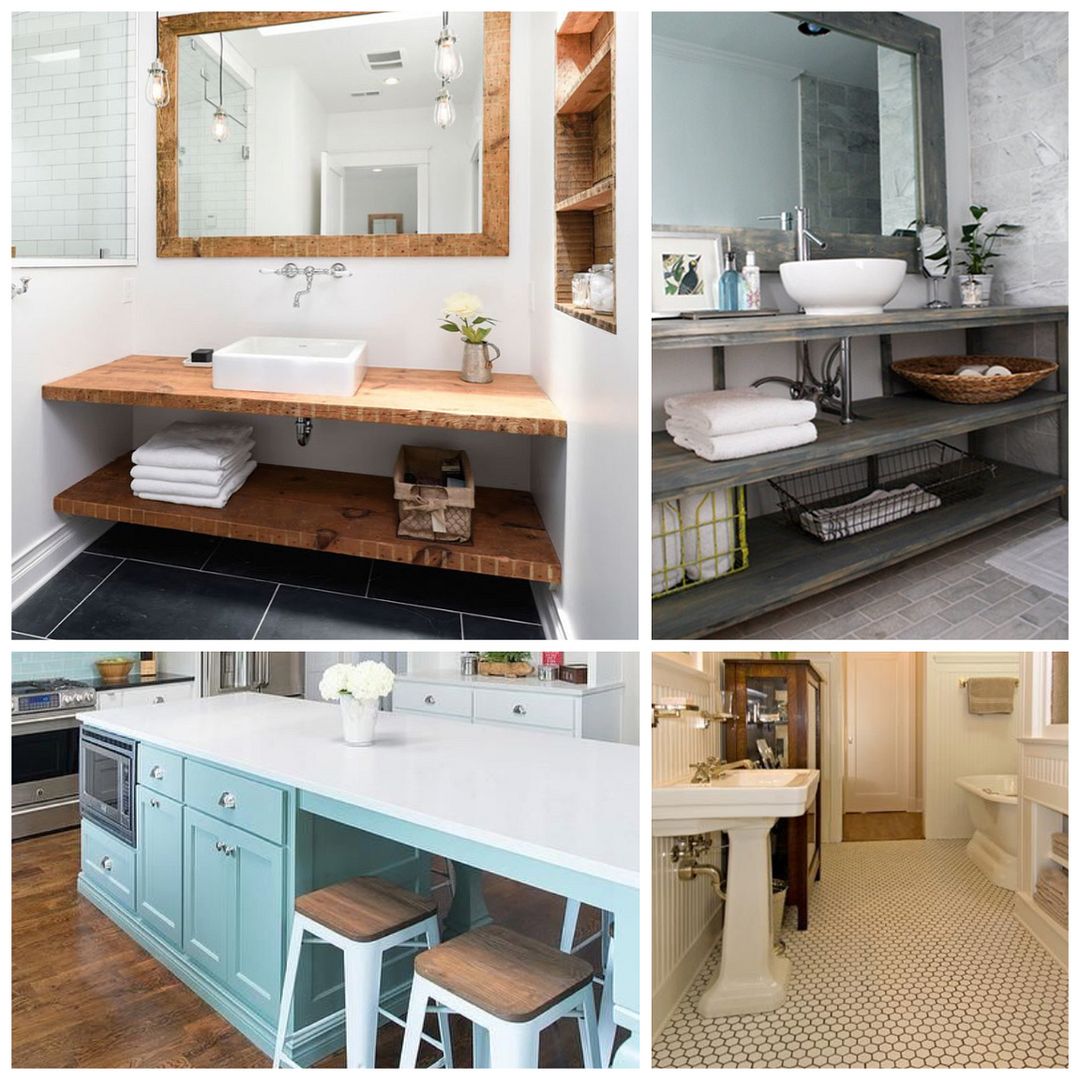
Inspiration (clockwise from top right): 1- Oak wood trim bathroom (Pin points here) | 2- Vintage rustic bathroom (Pin points here, original source unknown) | 3- Honeycomb tile (Pin points here) | 4- Tiffany blue paint + white + wood (Pin points here)
Much like what I do when I have no idea what to wear, I started searching Pinterest. You'll see in the photo below that our house has this vintage farmhouse feel to it thanks to the wood floors and solid wood doors. Therefore, it really didn't make sense for me to try and do anything modern or contemporary. Some of the keywords I used for my search were "vintage rustic bathroom" and "oak wood bathroom" and "tiffany blue paint." I knew I wanted something rustic, and I loved how the Tiffany blue, white, and wood combo looked together.
I wasn't 100% sold on the Tiffany blue paint, but I figured that before I picked out anything else for the bathroom, the first thing I needed to find was a vanity. The architect in me simply wanted to design my own piece, but I don't think my father in law signed up for building custom millwork when he agreed to provide his services for this project! I told my mother in law the theme I was going for and she suggested that we pay a visit to this local store called Gingham Buffalo. It was perfect - and crazy affordable. They had this cart set up as a kitchen server, but I loved loved loved the idea of using this as a vanity.
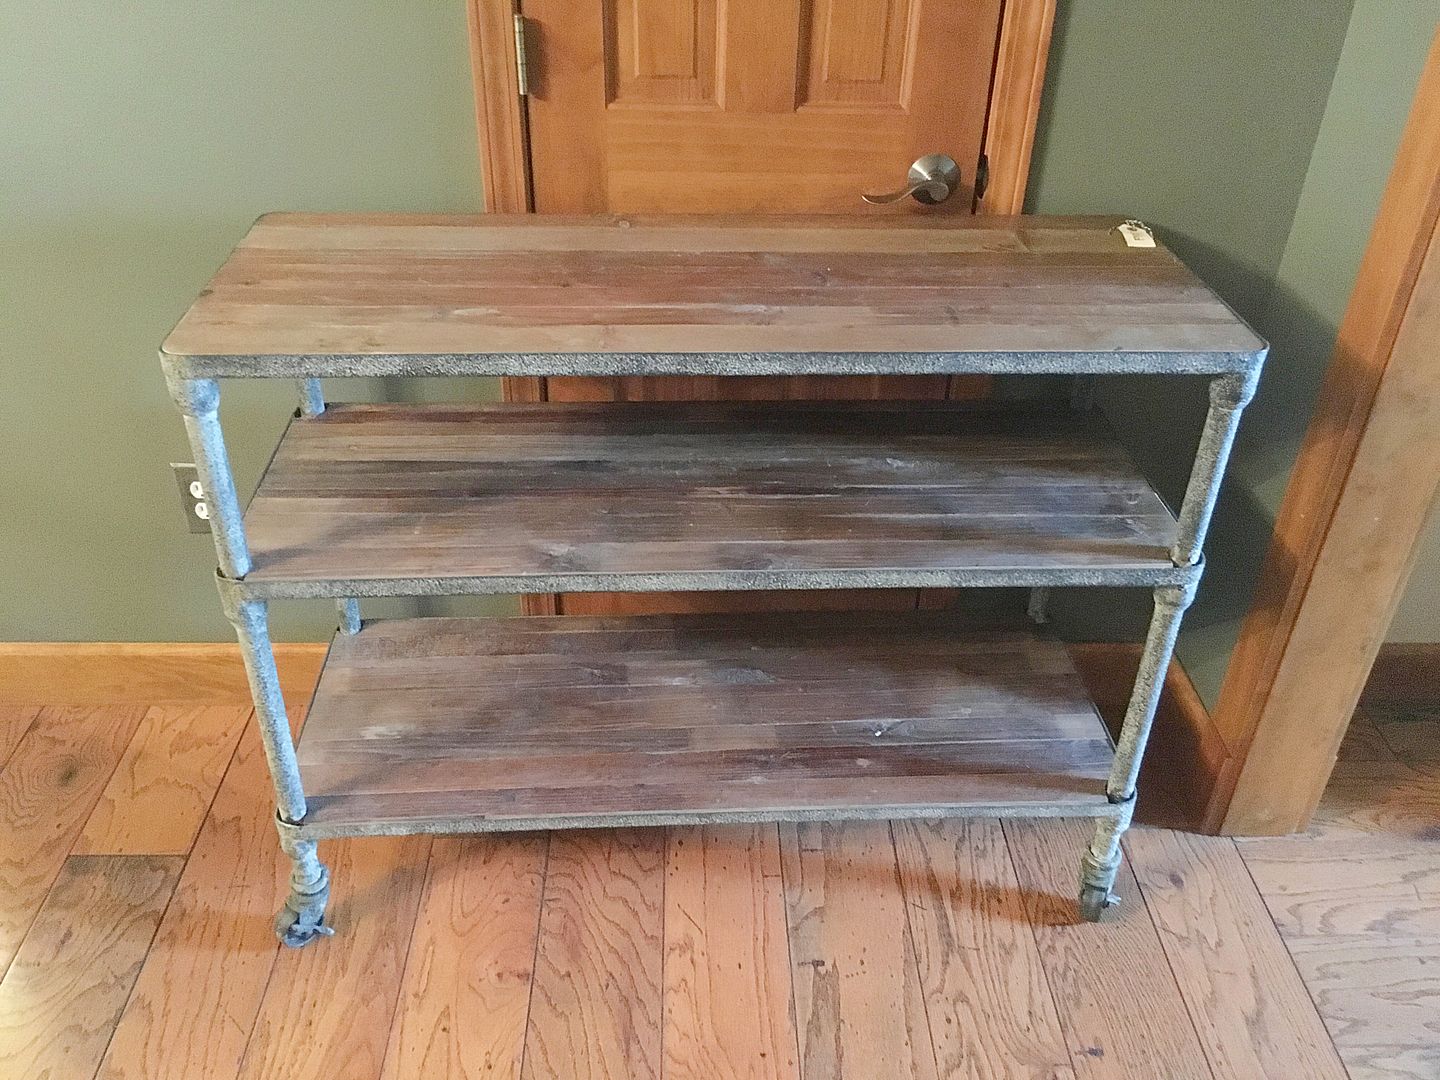
Cart to be used for vanity: Purchased from Gingham Buffalo
(notice the wood floors and doors I was talking about?)
Once the vanity was picked out, everything else went pretty quickly. I knew I wanted white fixtures so we picked out a white vessel sink, a white mirror, and a new white toilet. Next was tile. I loved the idea of white honeycomb tile with darker grout, and my desire was solidified when I saw the pin from up above. With white tile and white fixtures, that made paint pretty easy. I decided against the blue and went with a very muted green instead.
The light fixture was next. I found one that I loved, but the husband had a little coronary after seeing the price. Luckily his cousin is an interior designer, so she recommended another website that sold similar styled fixtures at a more competitive price point. I found one I loved even more than the original one I saw, so all I needed was a tall storage cabinet and baskets for the vanity shelves. Ironically, Jenna and I had been talking for a few weeks now about going to Ikea together during her Christmas break. The timing could not have been more perfect for this remodel!

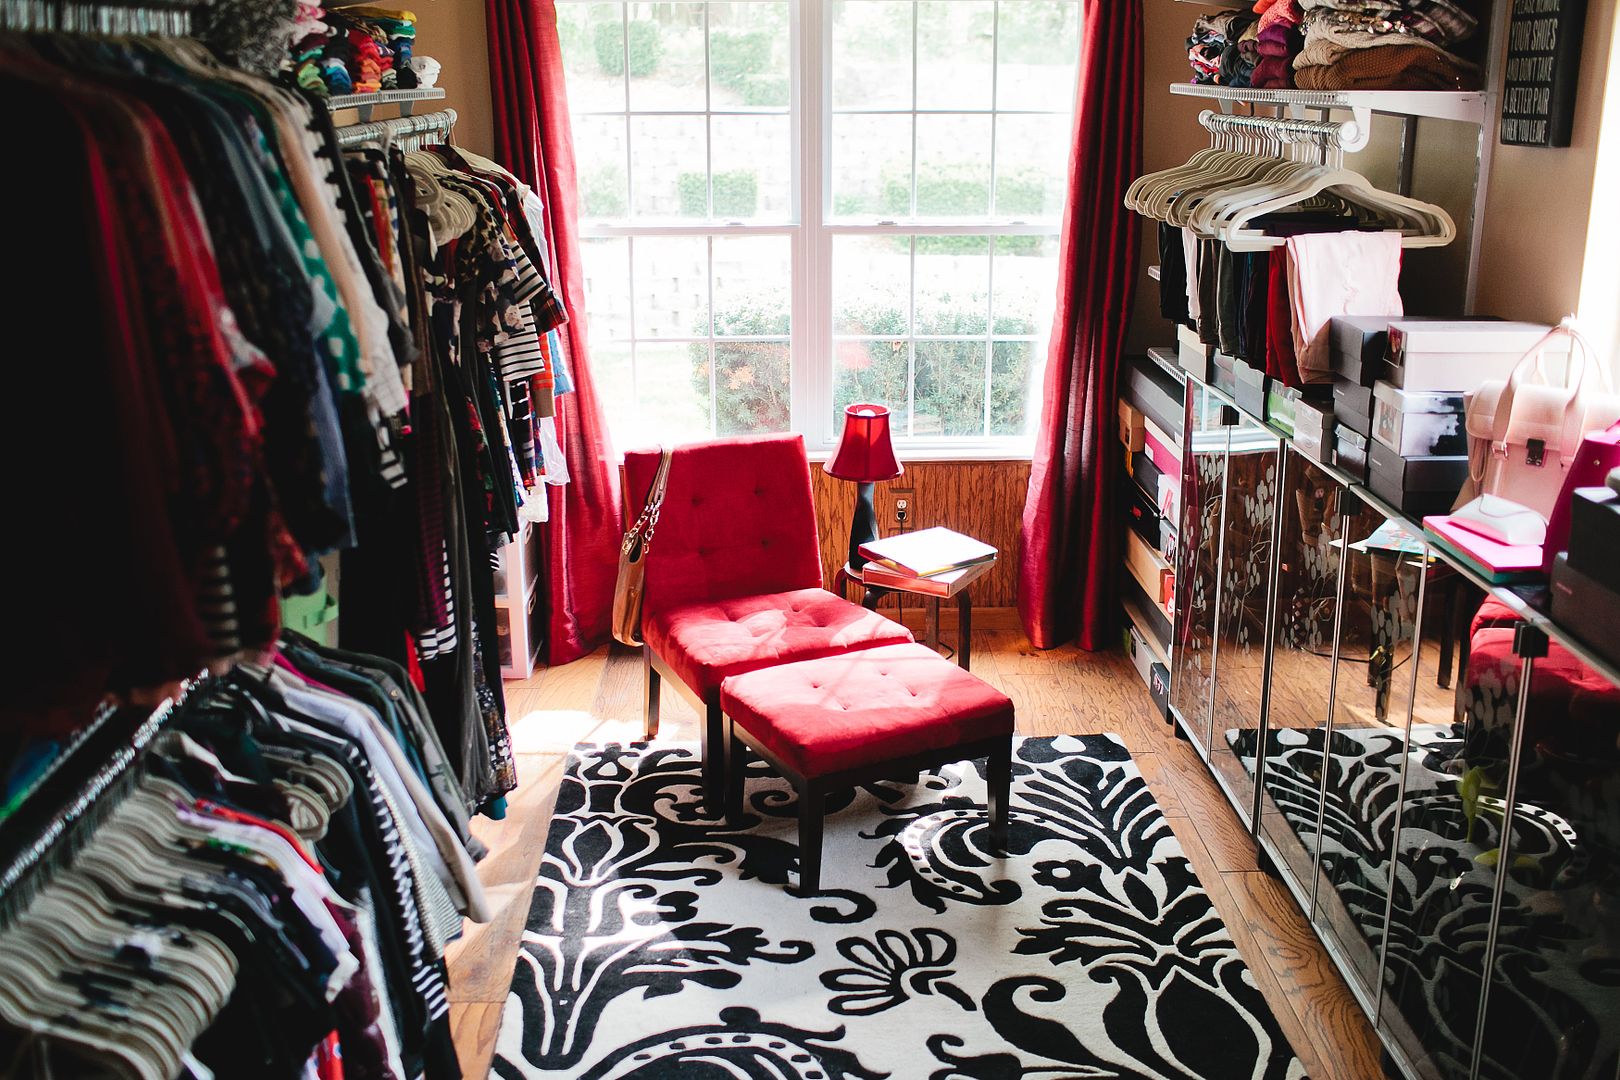
Currently I have one of those wire storage racks that straddles the toilet, and I have baskets filled with all my hair and girl products. I wanted to get rid of that and hide all that stuff in a tall storage cabinet. There were so many options to choose from at Ikea, but ultimately, I picked this one, which is wedge shaped, making it perfect to tuck into the corner of a long and narrow bathroom. Everything else was easy! I have enough baskets to last me a lifetime now, and if there are too many for the bathroom to hold, I'm sure I can find plenty of other uses for them elsewhere in the house.
The next steps are for the father in law to patch the walls where he had to cut the drywall to cap the existing plumbing. Once that is done, we can paint! The walls are all unevenly textured and really needs to be re-done professionally, so we went ahead and got a quote from a painter who did work at our rental property and is crazy cheap. He'll be texturing the walls, and painting not only my bathroom but the aforementioned sunroom. Once the paint is done, everything else should go rather quickly! My hope is that it will all be done by the end of January. I can't wait to share the final photos!! Stay tuned!

Linking up for: What I Wore to Work, Spotlight Weekly Linkup with Elle and Jacqueline, Thursday Fashion Files, Thursday Favorite Things


I cannot wait to see the final project!
ReplyDeletexo
PinkSole
Can't wait to see the room finished! You have such a great eye for this!
ReplyDeletexo, Lee
www.wineandcouture.com
So exciting! I cannot wait to see the finished product!
ReplyDeleteOh cool! I didn't realize this room was connected to your closet room. That will be amazing for getting ready! Can't wait to see how it turns out compared to the before and your inspo pictures.
ReplyDeleteGina || On the Daily Express