
With the quick taste of spring-like weather this weekend, I've been thinking of all things warm weather, including my favorite tips and tricks. There have been a few secrets I have shared over the past 3 years on this blog that definitely merit digging out of the archives, especially since they are still relevant today. As we prepare to show more skin and let our boots go into hibernation, here is some helpful info to keep in mind!
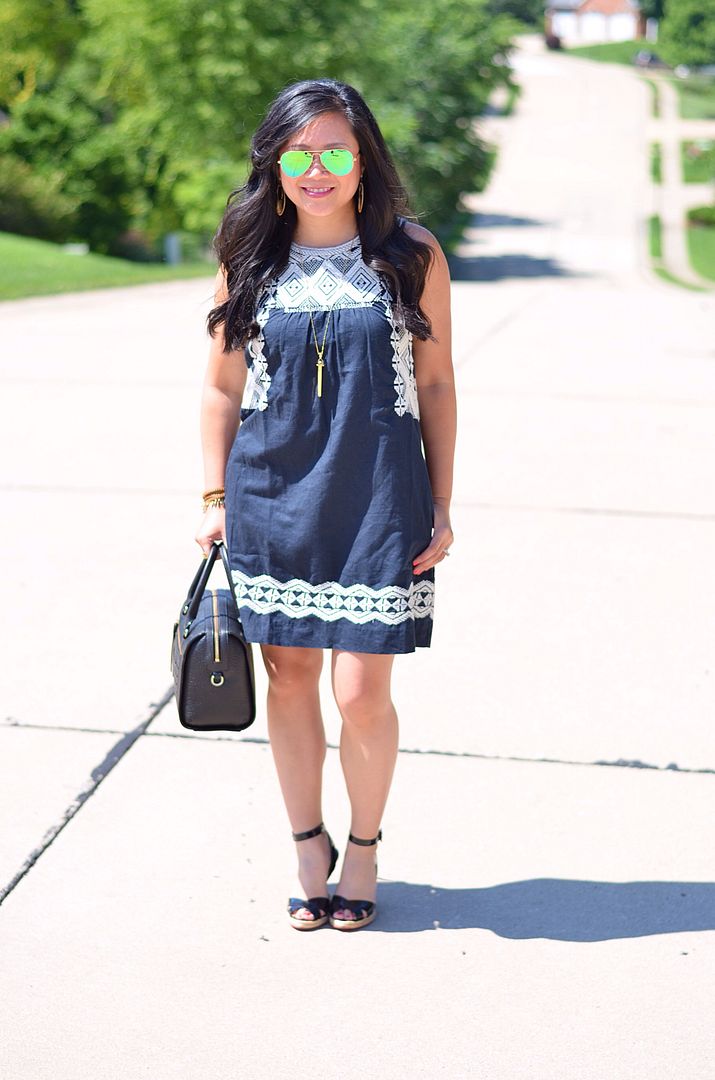
Tip #1: Wear slips under skirts and dresses
Slips seem so old fashioned, but I swear by them. I don't just save slips for the summer - they're pretty important in the winter, too, so my dresses don't cling to tights. But let's be honest. In the warmer weather, you can get sweaty, and that dampness allows your clothes to stick to you and it exaggerates wrinkles. Slips keep me feeling fresh and my clothes crisp, not to mention that it helps prevent VPLs. My most favorite slip is still available, lucky for you - you can buy it here and read more about my slip obsession in this old post here.

Tip #2: Make heels work for you!
Shop insoles and accessories here
I love heels! It's not a secret! It's also not a secret that not all heels are comfortable right out of the box! I wish that were the case, but oftentimes, it is quite the opposite. But you don't have to give up on those pretty heels - there are so many little tools out there to make them work for you. I always have a supply of my favorite shoe remedies because you never know when you'll need them. I go into a lot more detail about each of these items in this post here.
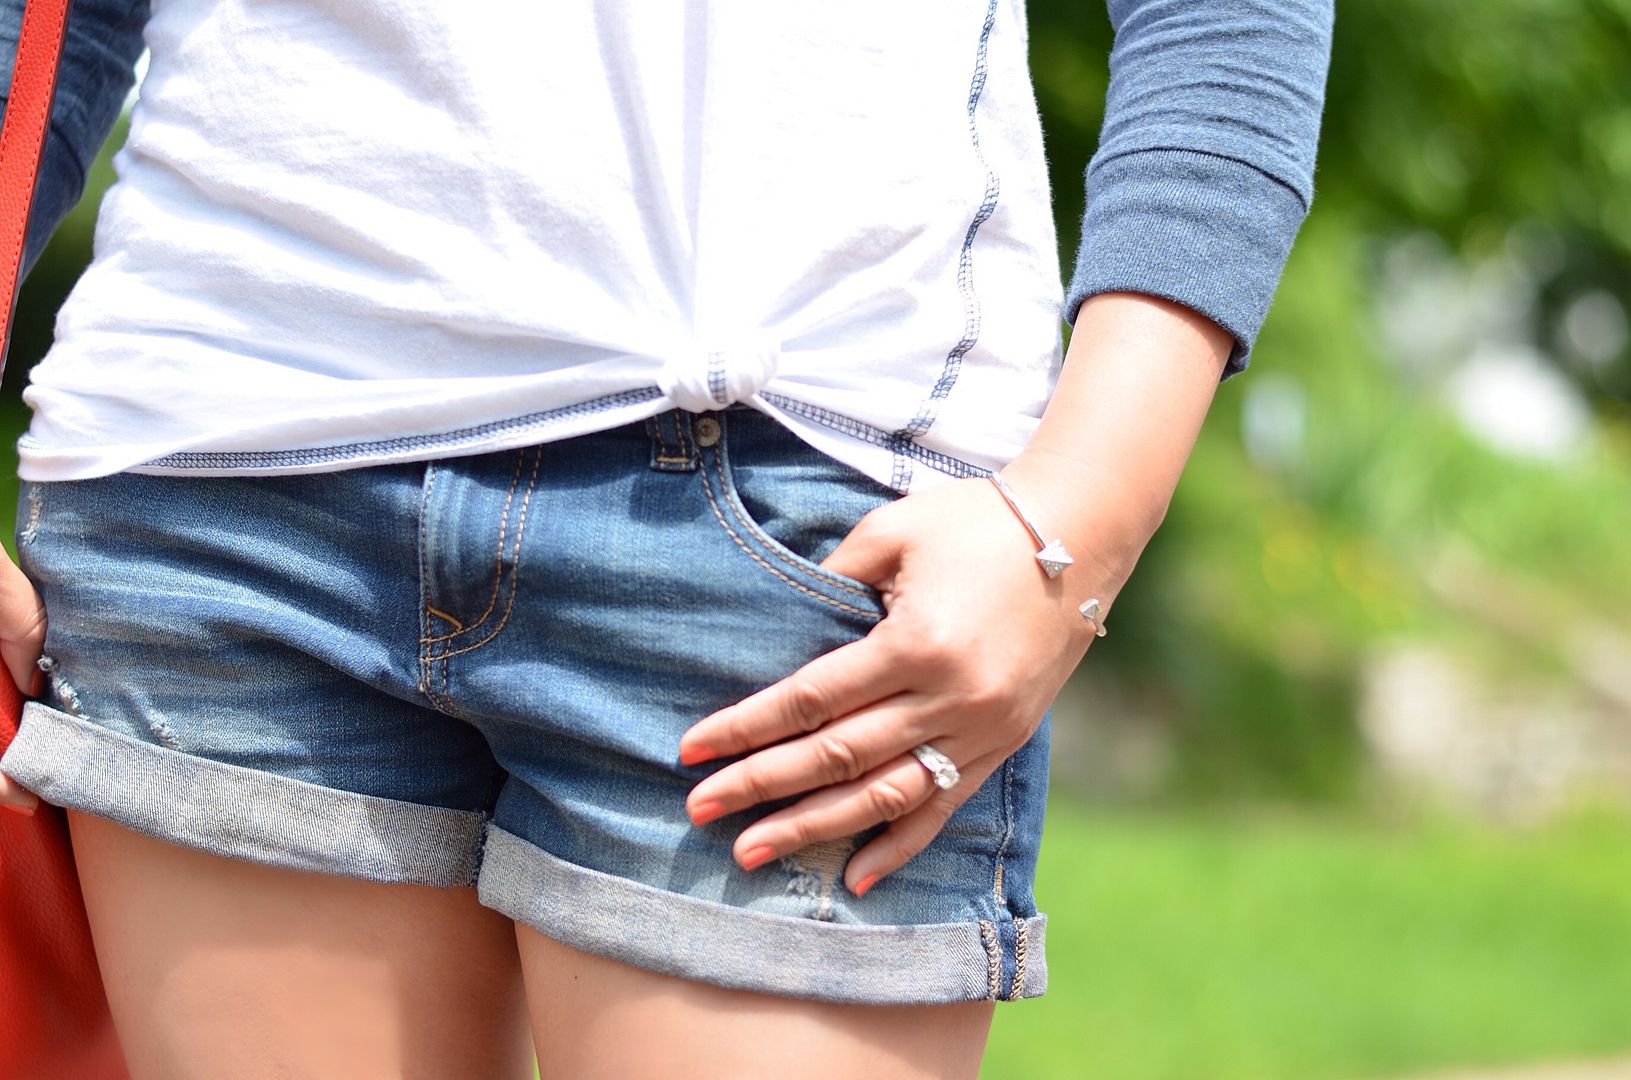
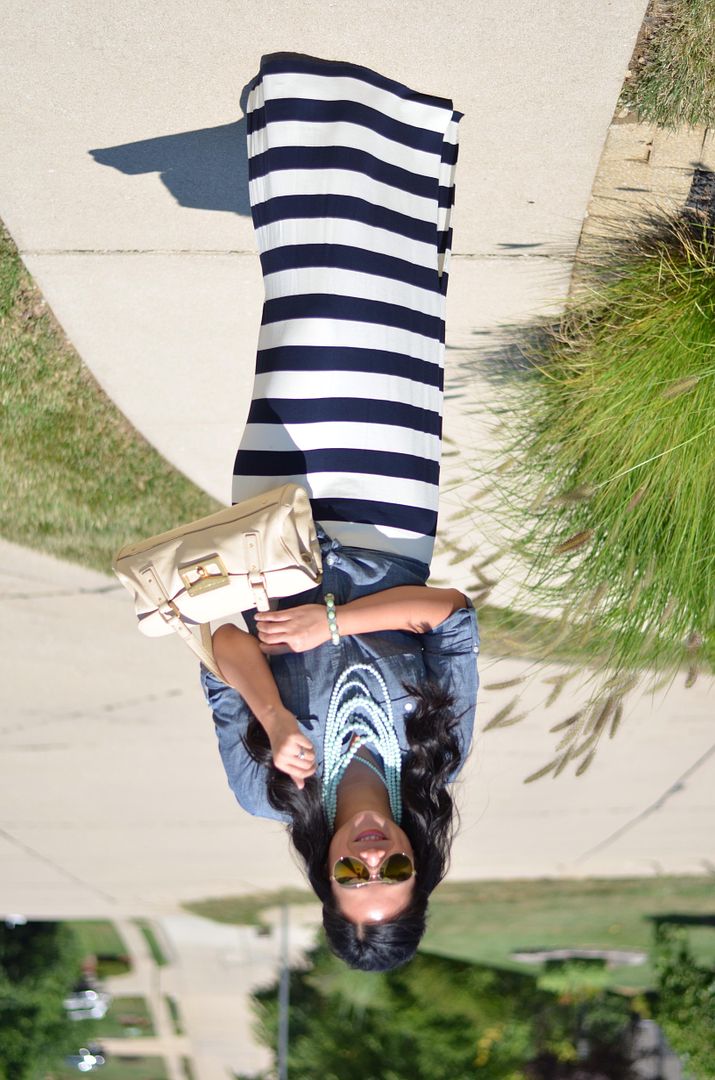
Tip #3: Knotting your tee is a fun alternative to the partial tuck.
I'm not sure when I decided to start doing this, I just know it happened sometime last summer. I love the partial tuck, but sometimes it's not always feasible, especially with skirts or higher waisted bottoms. The problem is, my tees aren't the oversized style from the 80s and 90s, so what do you do when there isn't enough fabric to make a physically knot?
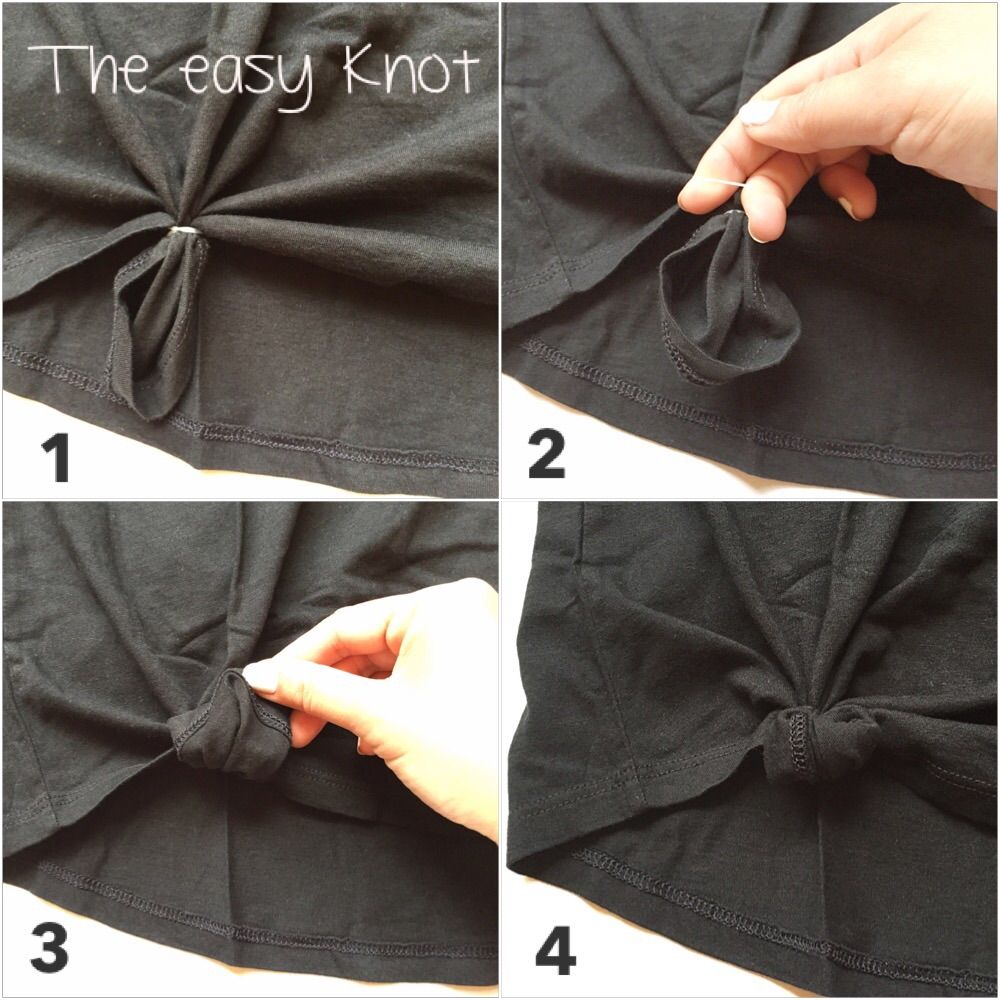
It takes two seconds and works quite well for my workout tanks also! I originally got the idea because you always see little girls wearing an oversized tee shirt, and then their moms will pull the shirt tight at the back, and tie a ponytail holder around the excess fabric so the shirt is more fitted and shorter in length. It kinda makes the little kid look like they have a tail. Ha! I figured this concept would work for a small front knot as long as I just tucked the "tail" and used something less bulky than a thick ponytail elastic. The teeny clear elastics are perfect.

Tip #4: Gloss up those wellies
And last but not least, here is one that I haven't shared on the blog before. April showers bring May flowers, which means it's going to be rainy season here in no time. I've been kind of bummed because my red Hunters just haven't looked as shiny and delicious as they did the first day I got them. I bought the buffer spray pretty much immediately after buying these boots, and while they do remove that white haze, they still never looked as saturated in color. I realized that the boot shine is really the secret weapon.

This is everything you'll need to get your boots looking brand new. There are only two steps, but I will be honest and say that it does take a lot of patience and elbow grease. The end results are so worth it, though, as you can see above.
Step 1: Spray your boots with the buffer spray This cleans them and removes the majority of the white haze. We have a ton of these small white towels around the house, and these work perfectly for this exercise. I simply spray the buffer spray in sections, and wipe clean with one of these clean, white towels. Really, any soft towel/fabric would work.
Step 2: This is where patience is key. I did my boots in small 3" sections. I apply the boot shine sponge to the boot - the sponge contains an oil-like liquid in it. Then, I use a second white towel to thoroughly rub this liquid in. I found it best to use some pressure as you rub/buff this in. I also found it better to use a separate towel than the one that was already wet from the buffer spray. It took me about 20 minutes to work my way around one boot, so definitely don't expect to do this when you're on the way out the door! My boots were so scrumptious after all was said and done - I almost didn't want to wear them!!
______________________
Hopefully there was a tip or two in this post that was helpful for you! I'm definitely excited to put some of these tricks to work because that will mean warm weather is upon us and there are more hours to daylight! Thanks for reading!

SHOP THE POST:


I need a black slip, they are indeed perfect under dresses and I really need to get a pair of hunter this year.
ReplyDeletexo
PinkSole
Great tips! I always struggle to find slips that are the right length...there are not too many options out there!
ReplyDeleteOne of these days I think I need to try your tee knotting technique. This may be a silly question, but do you have a specific brand of rubber bands/elastics you use for that? And do you get them in the hair section or the office supply section (e.g. at Target)?
ReplyDeleteGina || On the Daily Express
I get them from the hair section at Target! Though, they come in a pack of 100 or something crazy, so I've only had to buy them one time. I just got the Goody brand!
DeleteLove these style tricks- and they definitely get me in the mood for spring! :)
ReplyDelete-Ashley
Le Stylo Rouge
I love the knotting tip! Definitely need to try that one! Your Hunters are gorgeous!
ReplyDeleteI love ALL these tips!!! Now, if only the weather would cooperate...
ReplyDelete