
I thought I'd kick start this week with a little hair tutorial. You guys see my bun a lot. Sometimes, I consciously try and make an effort to NOT wear my hair like that. I just love it because even though it's a generally lazy way to style my hair, I still feel polished and put together. I don't do well with pony tails. My hair is thick and just looks sad and saggy in a pony tail. Using two hair ties helps, but it still doesn't look full and perky like I see on so many other people. I discovered the sock bun and was using that technique for a few months. I started with an actual sock, then just had better luck using a bun form I bought from Sally Beauty Supply. My favorite YouTube video of the sock bun is by Wendy over at Wendy's Lookbook.
The problem with the sock bun is that my hair is really slippery, if that makes sense. Even if I put product in it to texturize it, it still slips out of the sock bun, UNLESS, my hair was just a little bit damp. I'd end up just blow drying my crown, and leaving the rest of my hair damp, and I'd be able to put my hair in the perfect bun without actually using any bobby pins at all. Sounds great, right? But trying to do it on second day hair was impossible. I'd have a 50/50 chance of making it work, and even still, my hair wouldn't stay tight around the bun form, so the bun would be large, but flat - like a hat.
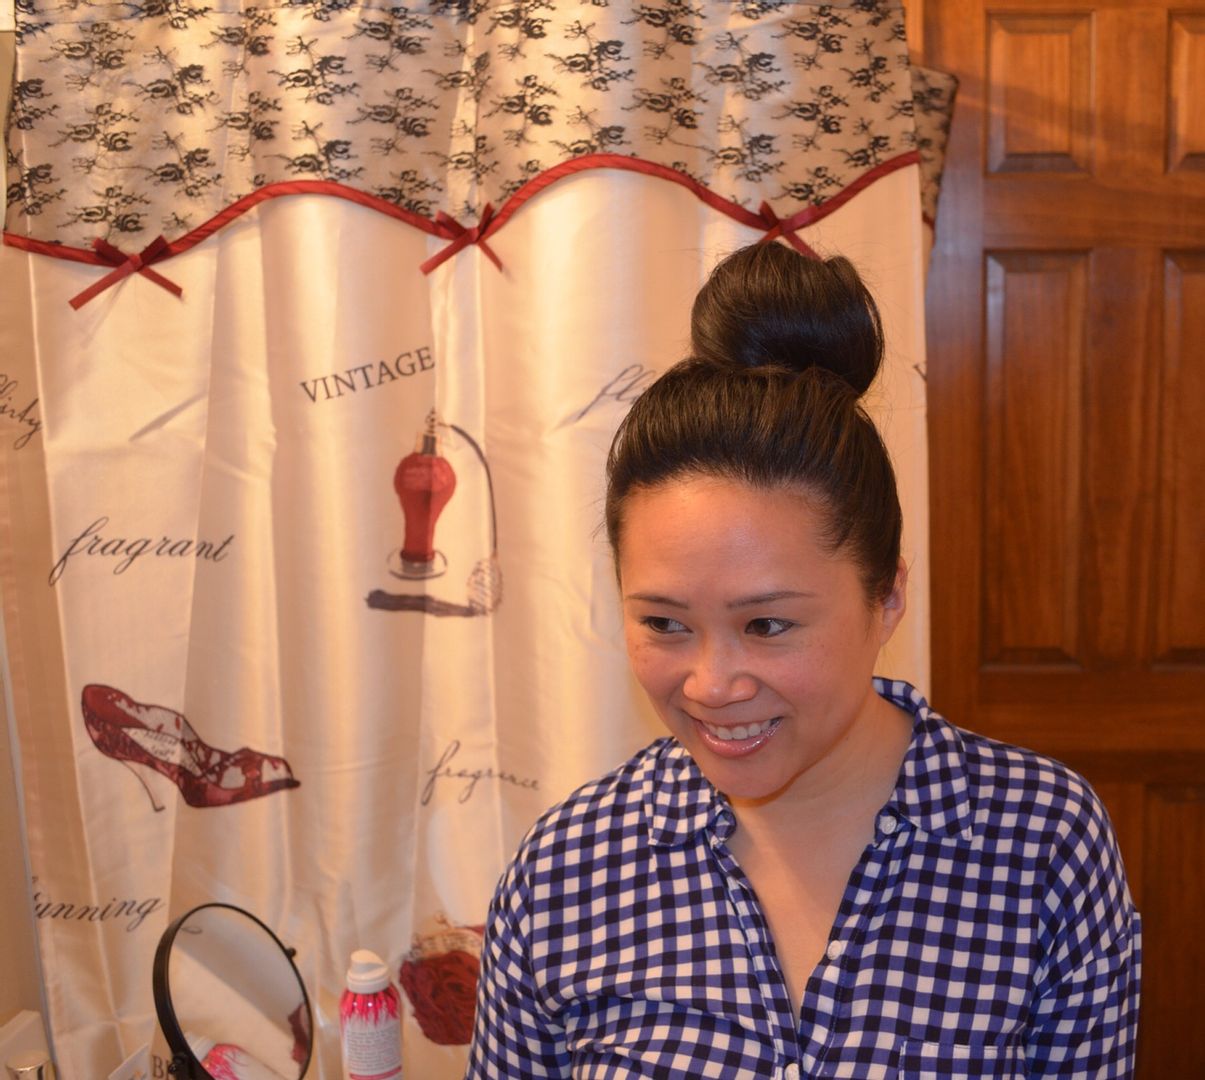
Then, I discovered this video by Amy at Coffee Beans and Bobby Pins. It changed my bun life. No more bun forms. No more issues with second day hair. And it looks more like a ball of hair on my head than it does a hat. My friends give me crap about my bun all the time and how ginormous it gets. But I just love it. I figured since I wear it so much, I may as well document how the magic happens! So, here you go!
My tools:

Teasing comb/brush
Regular comb
Bobby pins
Hairspray
Hand-held mirror
And oops - forgot a hair tie in the photo!
And oops - forgot a hair tie in the photo!
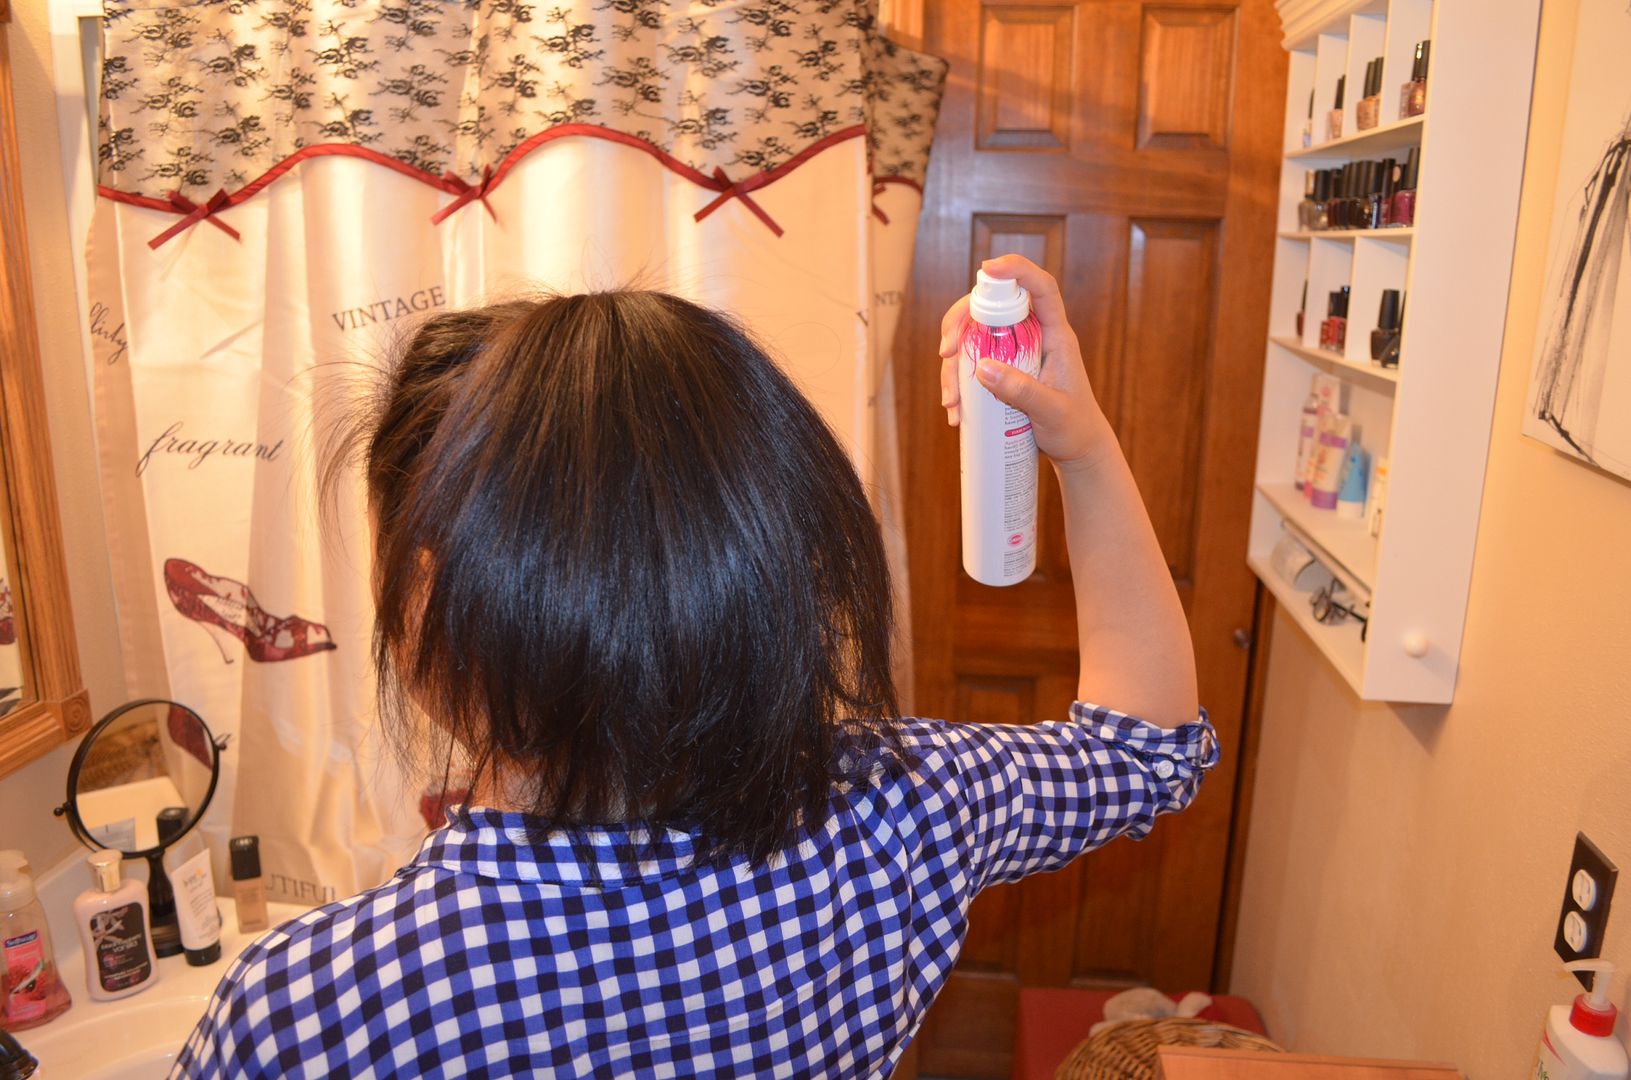
Step 1: Spray and tease crown

I like a little volume at the crown of my head whenever my hair is pulled back. In order for me to "bump it" up when it's pulled back, I have to have it teased a little bit. Otherwise, the bump just falls flat. So, I spray a little hairspray in the front section of my hair, then use a teasing brush accordingly.
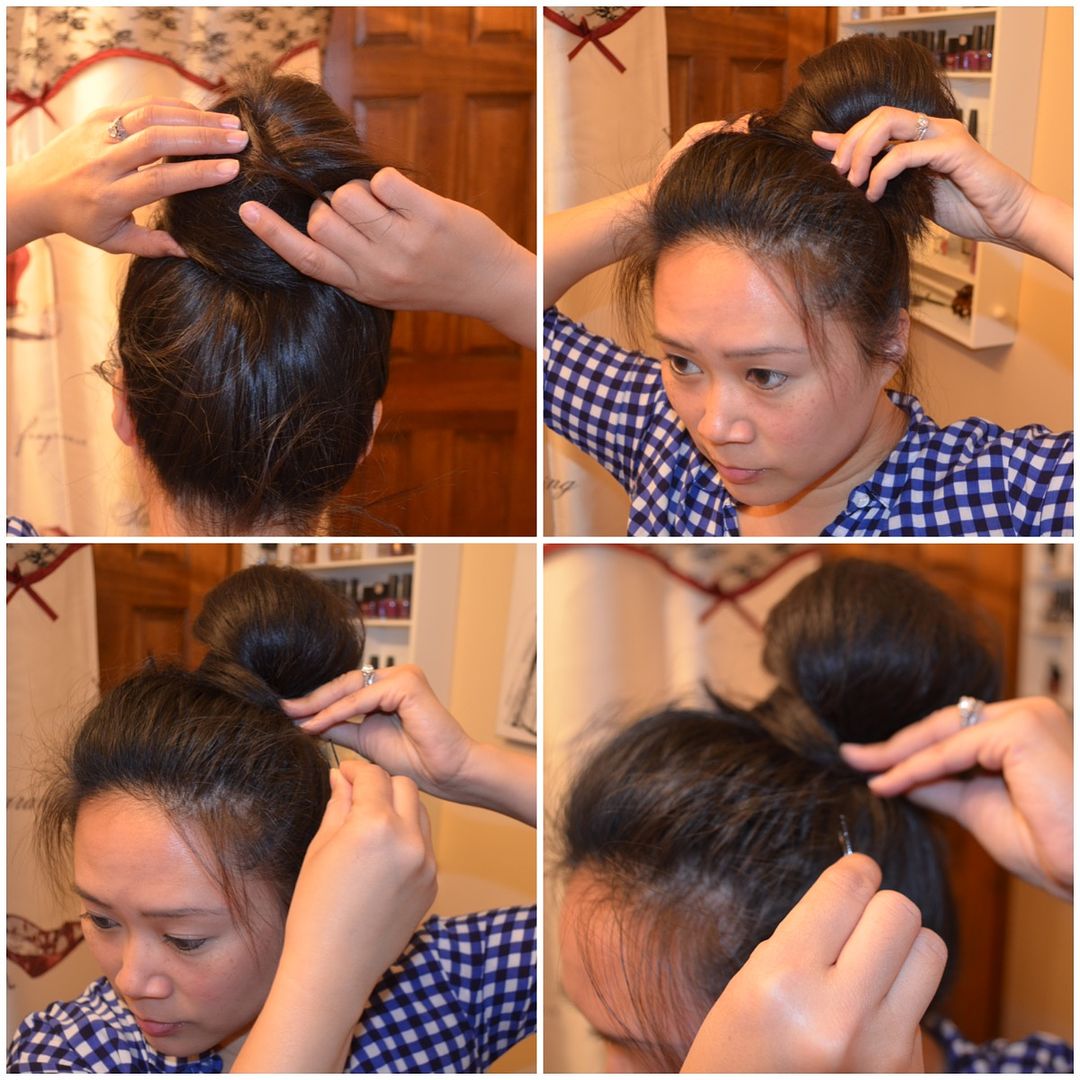
Step 2: Pull hair back into a high pony
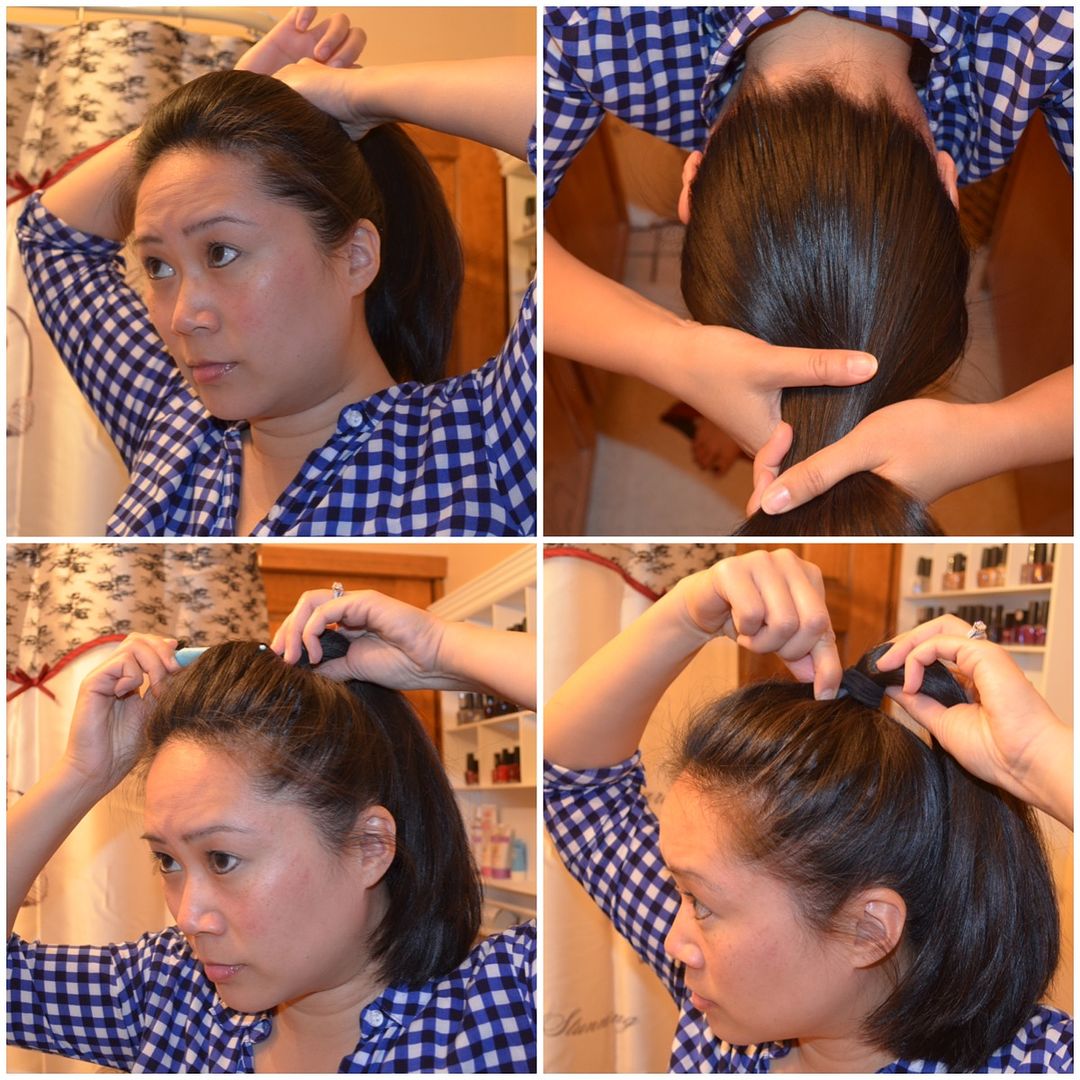
I gather my hair back into a pony, but not super tight. I try and leave the front top section that I just teased bumped up. This will naturally get pulled back a bit when you get your hair in the pony, but I just try to leave it as bumped as possible. Also, I don't know why but I am physically incapable of getting my hair into a high enough pony unless I bend over and let gravity help me get it an inch or two higher that when I'm standing upright. I bend over, pull the pony as high as possible leaving about 4" or so from my hairline to the base of the pony. I use my comb to smooth out the sides and the bottom of my hair at the scalp.
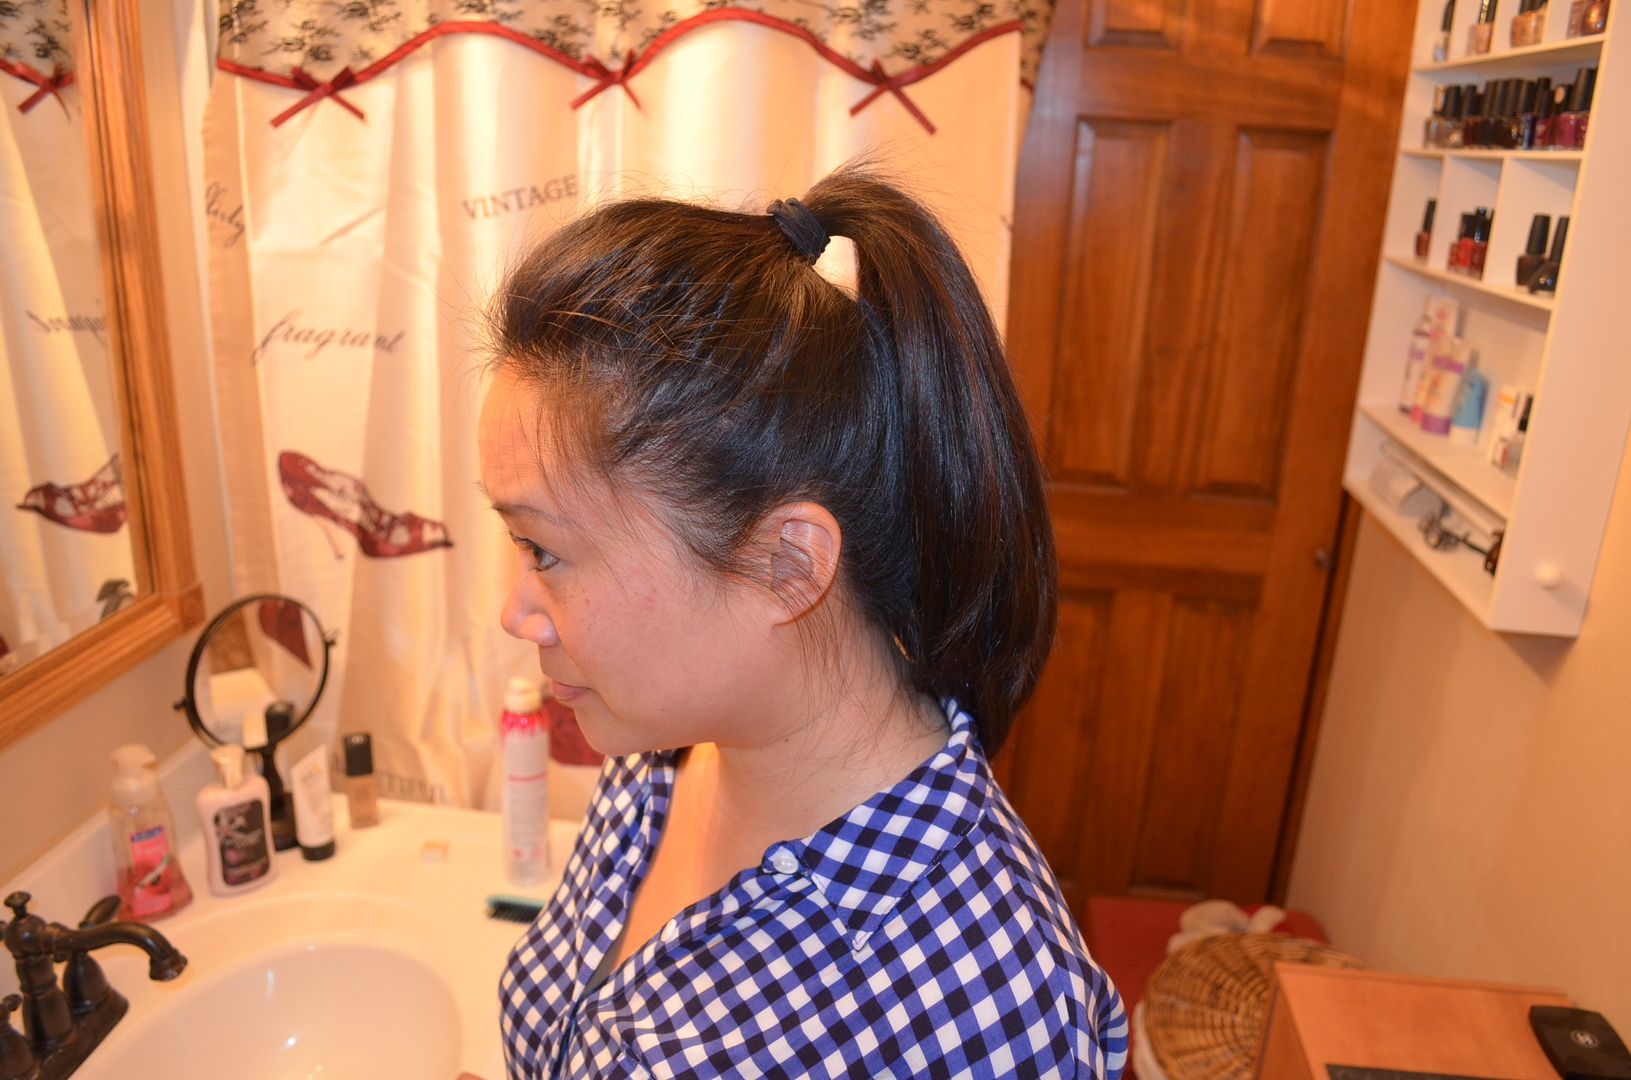
Once it's at the height I want, I stand back up right and secure it with a hair tie. Then, I use the pointy end of my teasing brush, in combination with some tugging with my fingers to bring back some volume to that top front section of my hair. Once this step is all done, your hair should look like this: (yes, I have a ridiculous amount of fly-aways.)
Step 3: Add texture to the pony with hairspray
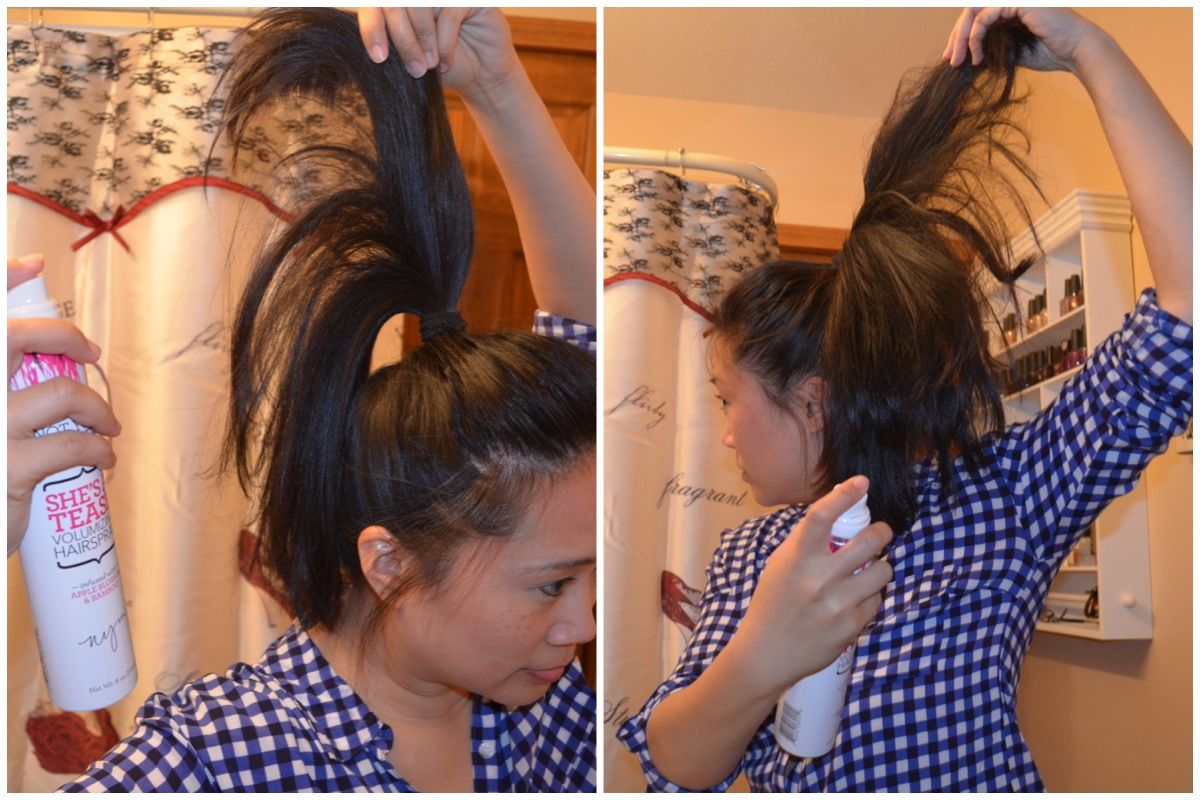
The hairspray helps for the next step, but it also helps give your hair some texture and grip. I just hold the pony in the air and let it cascade out of my hands, while I spray as the hair falls. I repeat holding the can of hairspray in the other hand until I feel I have good coverage throughout.
Step 4: Tease the pony
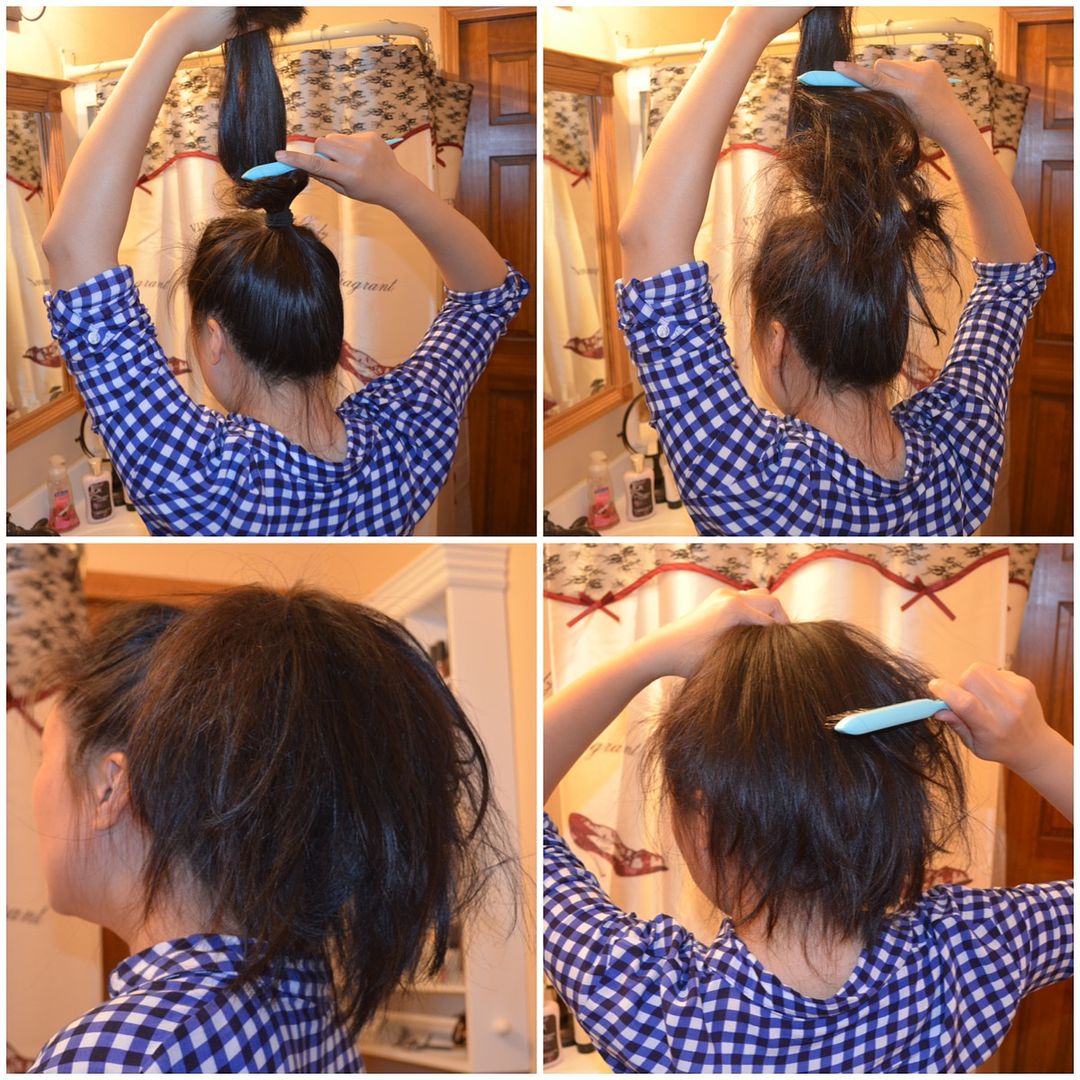
Holding the pony straight up in the air, I use my teasing brush, starting near the base of the pony working my way upwards to the ends of my hair until I run out of hair I'm holding in my hand. I may repeat this step if I feel like it's not teased or full enough. You will end up with an extremely large pony. Quite a difference from the pic at the end of step 2, eh? I then take my brush and lightly smooth the "outside" of the pony. Just be really careful not to brush out all the teasing you just did. You really just want to smooth the outside so you're in essence, hiding all the disheveled teased areas underneath. Once I have this looking smooth, I go ahead and spray it all over with hairspray, just for good measure.
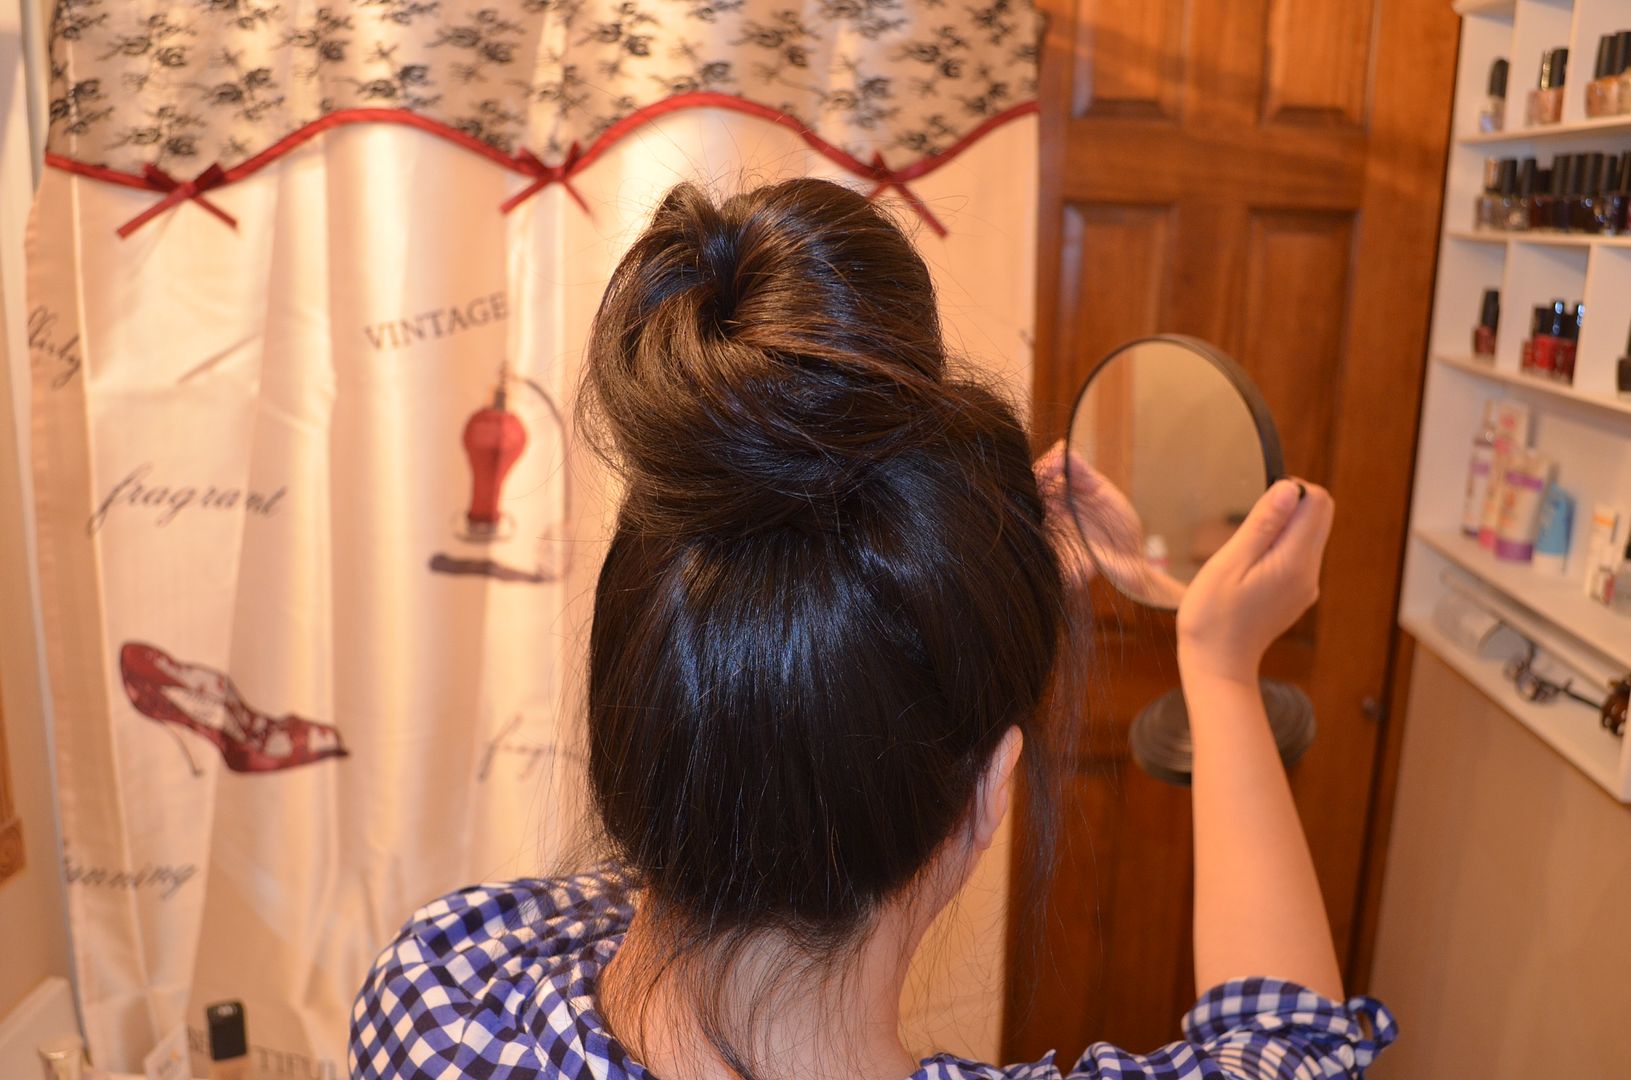
Step 5: Do the swoop

So, here is where it gets a little tricky. My tip for you is to keep it as loose as possible. I think with the traditional bun, you have a tendency to pull your hair tight as you coil it into a circle. That is not the case with this type of bun. Keeping my grip really loose, I swoop my right thumb under the pony and swing it counterclockwise. I continue wrapping the hair on itself like this until I have no more loose ends.
Step 6: Pin the ends in place
You really only need a few bobby pins. I think on average, I use about 4-6. I just pin the ends at the base of the bun, close to my scalp, and then pin as needed around the bun wherever there are loose pieces. Even though the bun is not wrapped tight, the teasing and hairspray help the bun keep its shape and prevent it from falling out. When you feel it, it will feel like a teased cream puff. :) I use a second mirror to view the back and sides to make sure everything is in place and looks right. It's definitely messy - a big contrast to the perfect looking sock bun, which is another reason why I like this a little better. I love messy and haphazardness.
Step 7: Tame fly-aways
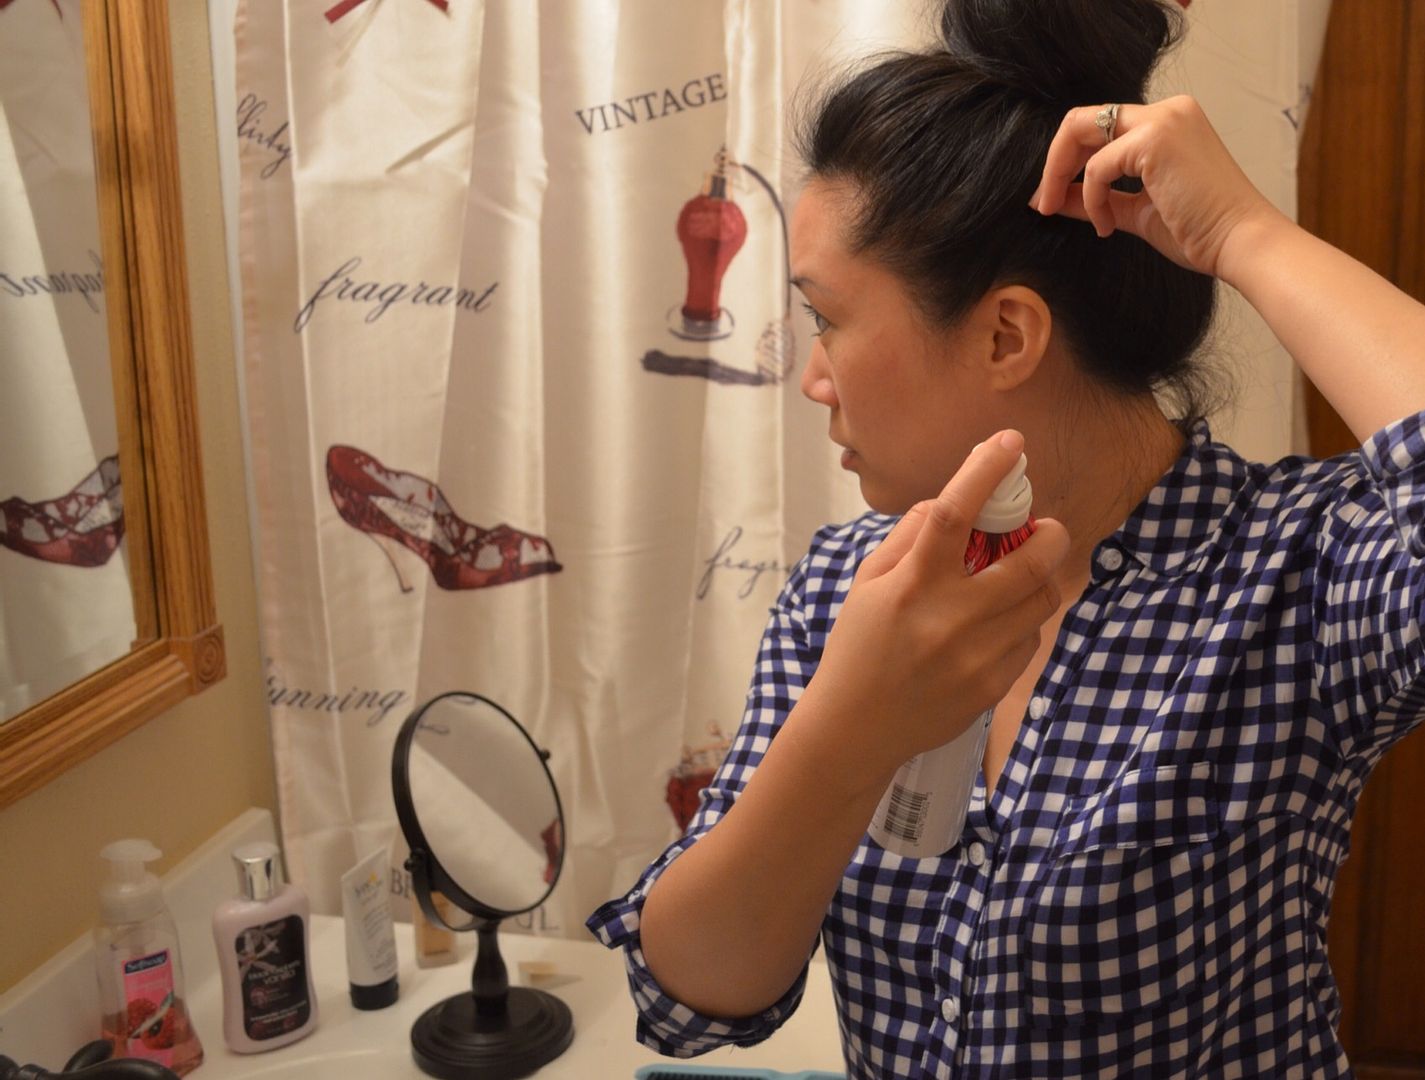
I use hairspray all over to keep my baby hair in place. I hate having so many fly-aways. If my hair is up, I cannot survive without hairspray. I make sure everything is sprayed and in place, including those hairs you see at the back of my neck.
All done!
I hope that was super helpful and that you try it and love it as much as I do! It's really easy, and it makes me feel like a woman! Haha

From St. Patrick's Day
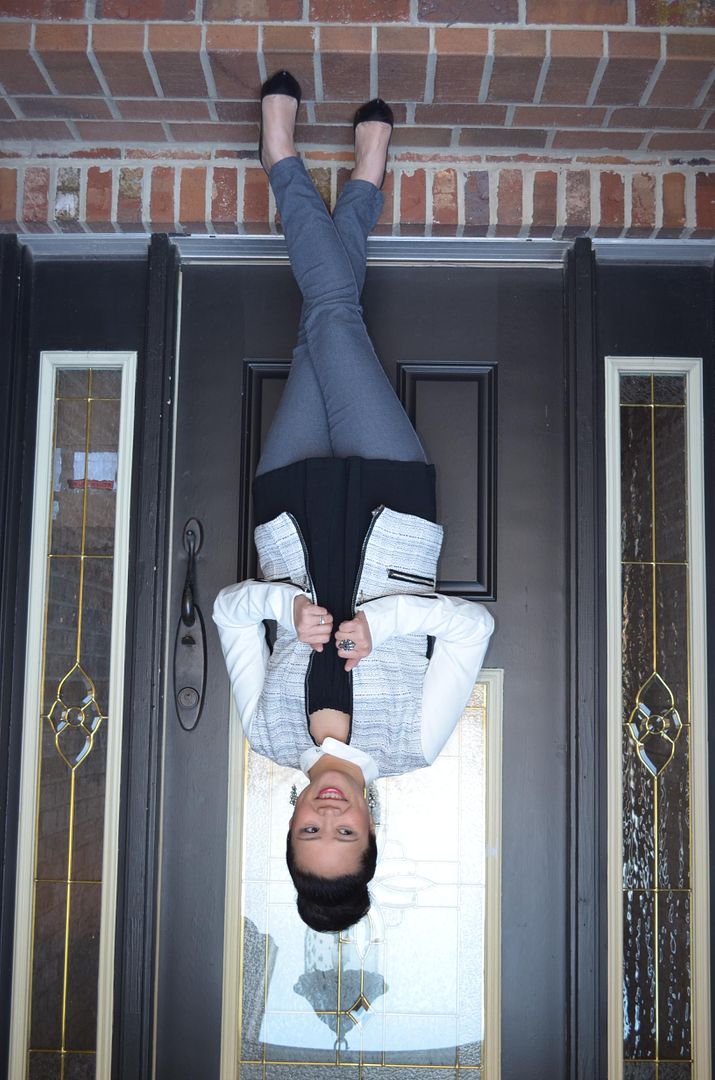
From White Tweed Jacket
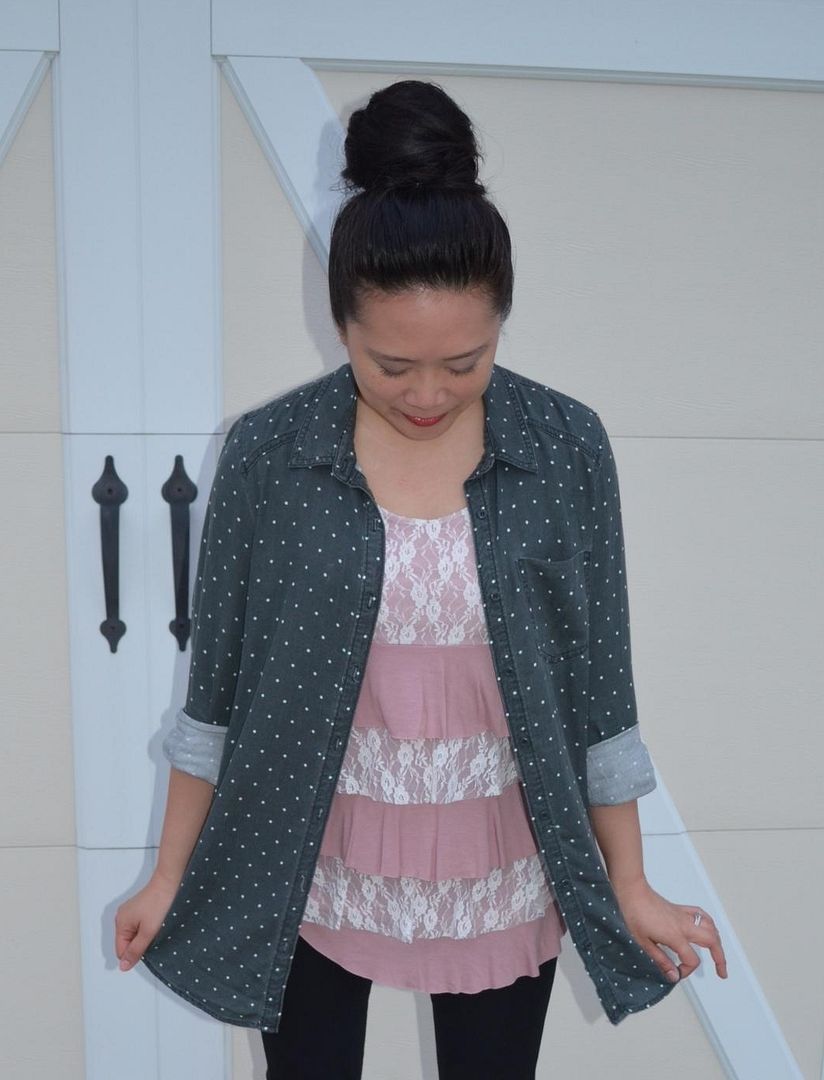
From Buns and Pigeon Toes
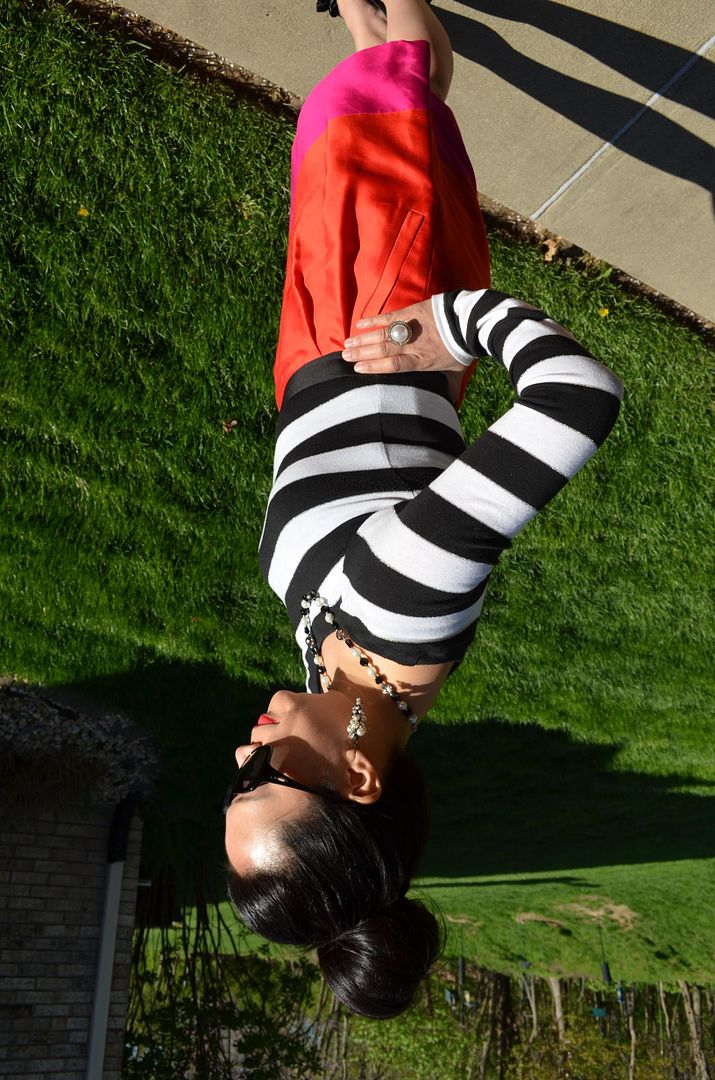
From 360 View


Carylee- Thank you so much for posting. Thank you for all the hair pics step by step!
ReplyDeleteMy pleasure! I hope it works for you!
DeleteYour bun comes out so great, I can never get mine to look that perfect. So pretty!
ReplyDeletexo, Yi-chia
Always Maylee
Thank you! And it definitely took a lot of practice! But it does get easier after awhile, promise!
DeleteI've never had hair long enough to do that! I like how you included a bunch of pictures from different times when you've been wearing your hair that way, it lets us know how it really pulls your look together in real life.
ReplyDeleteSo glad you liked it! Thanks for reading even if your hair isn't long enough!
DeleteGreat tutorial! I love a good top knot.
ReplyDeletexo
Taylor
http://www.nothingbutapigeon.com/
Thank you so much!
DeleteWell that is just fantastic.. I like big buns. Ahahaa.
ReplyDeleteHaha! I love talking about buns. :)
DeleteLove this tutorial, I can't ever get my hair to stay in a bun! Maybe I need to tease it? I will be giving this a try for sure!
ReplyDeletehttp://simpleeasystyle.blogspot.com/
Thank you! I hope you try it and that it's a success! Please report back if you do!
DeleteLoved your sock bun! I've seen lots of tutorials, too, and this technique def gives more volume to the bun! Also, love your St. Patrick's Day outfit <3
ReplyDeleteI'd love it if you can drop by mine and check out my latest post: www.fashchronicles.blogspot.com
Thank you so much!
DeleteIt looks great! Now if only my hair was long enough for that haha :)
ReplyDelete-Tori
Fashion, Trends & More
Thanks! And yeah, I have lots of hair!! It's both good and bad at times!
Deleteoh! You make this look fabulous! Thanks for sharing.
ReplyDeleteThanks! Hope this was helpful!
DeleteLove this! I am going to give it a try. -Melissa
ReplyDelete